
 Pin it
Let me share my favorite way to use up sourdough discard that always gets devoured in minutes! These Quick Sourdough Cheesy Breadsticks started as a happy accident when I had extra discard and a craving for something warm and cheesy. Now they're requested at every family gathering.
What Makes These Special
I love how these breadsticks give you all that wonderful sourdough tang plus loads of garlicky cheesy goodness. They're ready so quickly you won't believe they're made with sourdough. Plus they make your house smell absolutely amazing while they bake.
Everything You Need
- Warm water: Just like bath water temperature.
- Yeast: For that quick rise magic.
- Sugar: Feeds our yeast friends.
- Flour: Regular all-purpose works great.
- Garlic salt: My secret flavor boost.
- Olive oil: Makes everything better.
- Sourdough discard: Don't you love using it up?
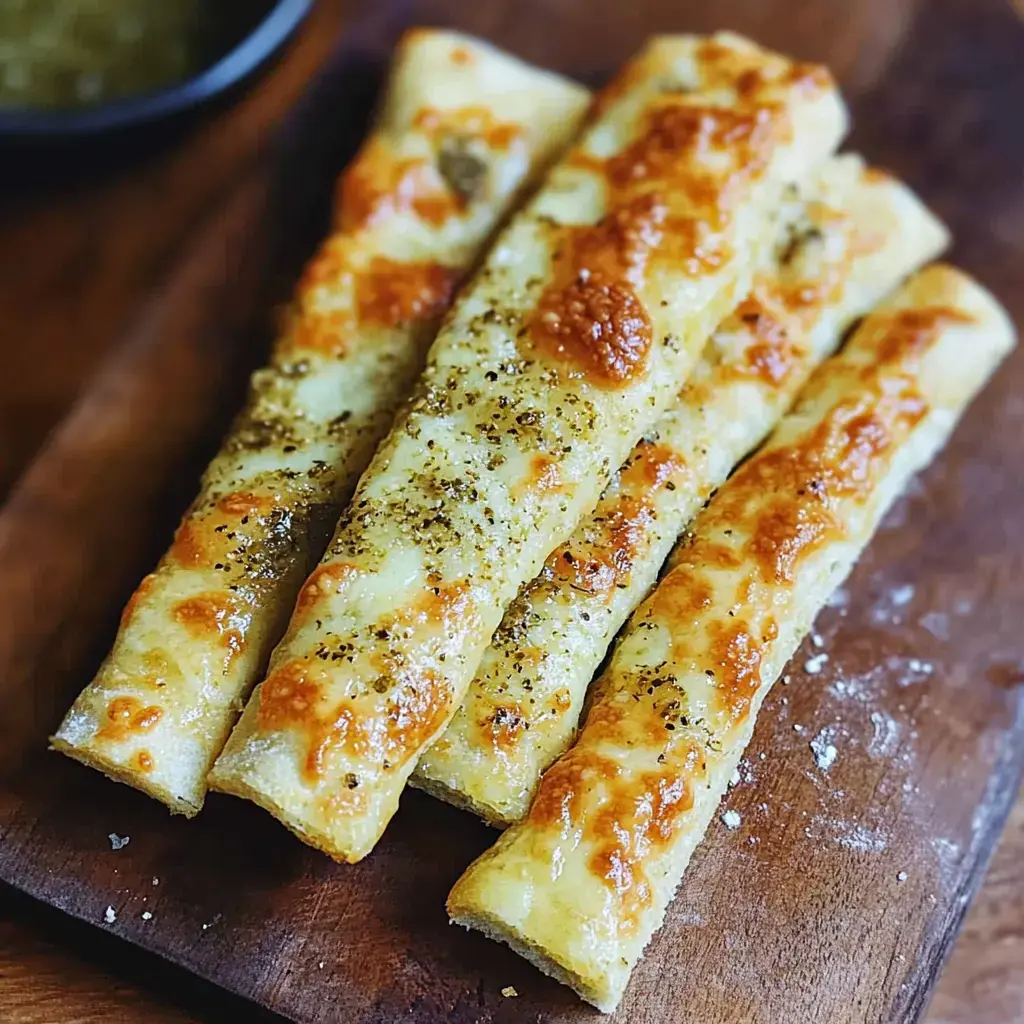
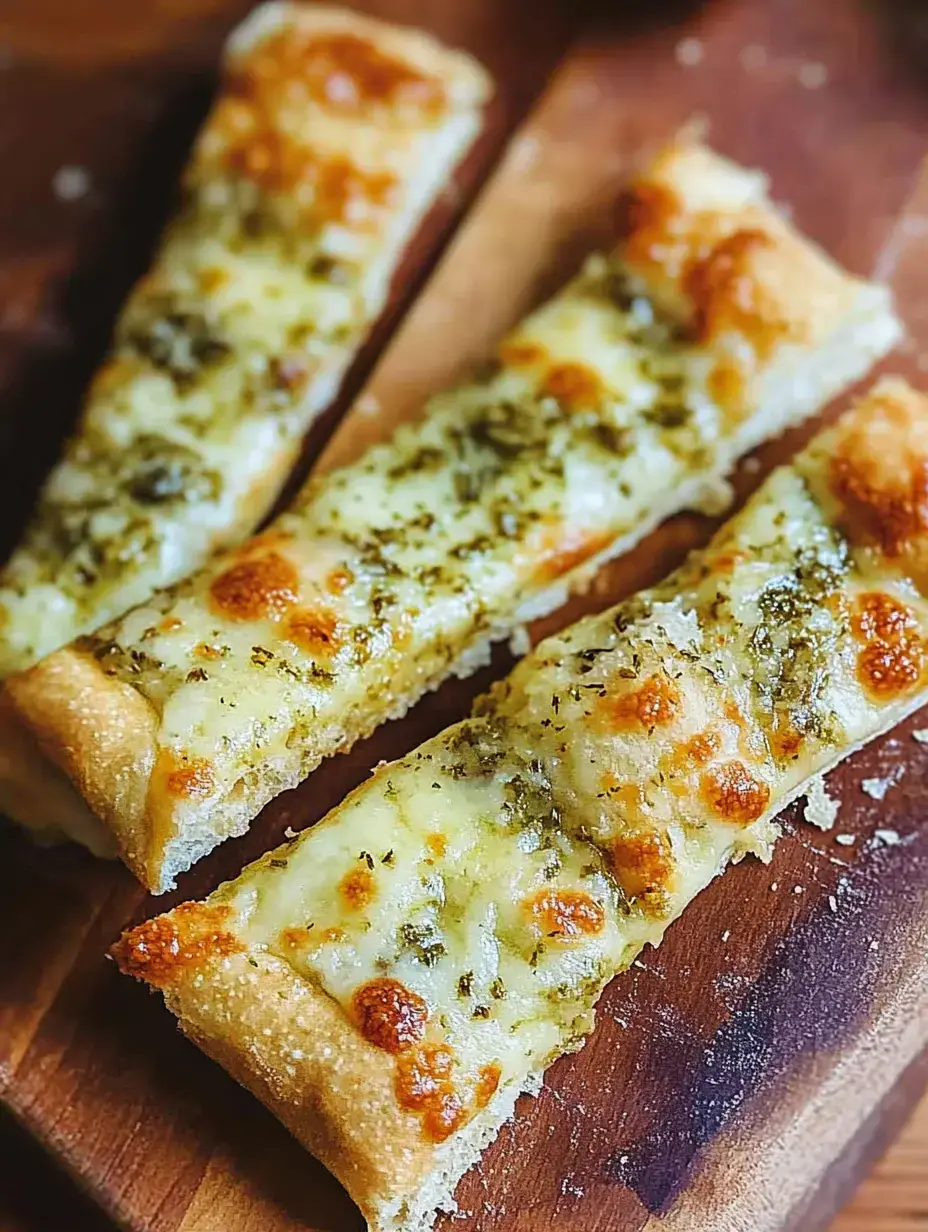
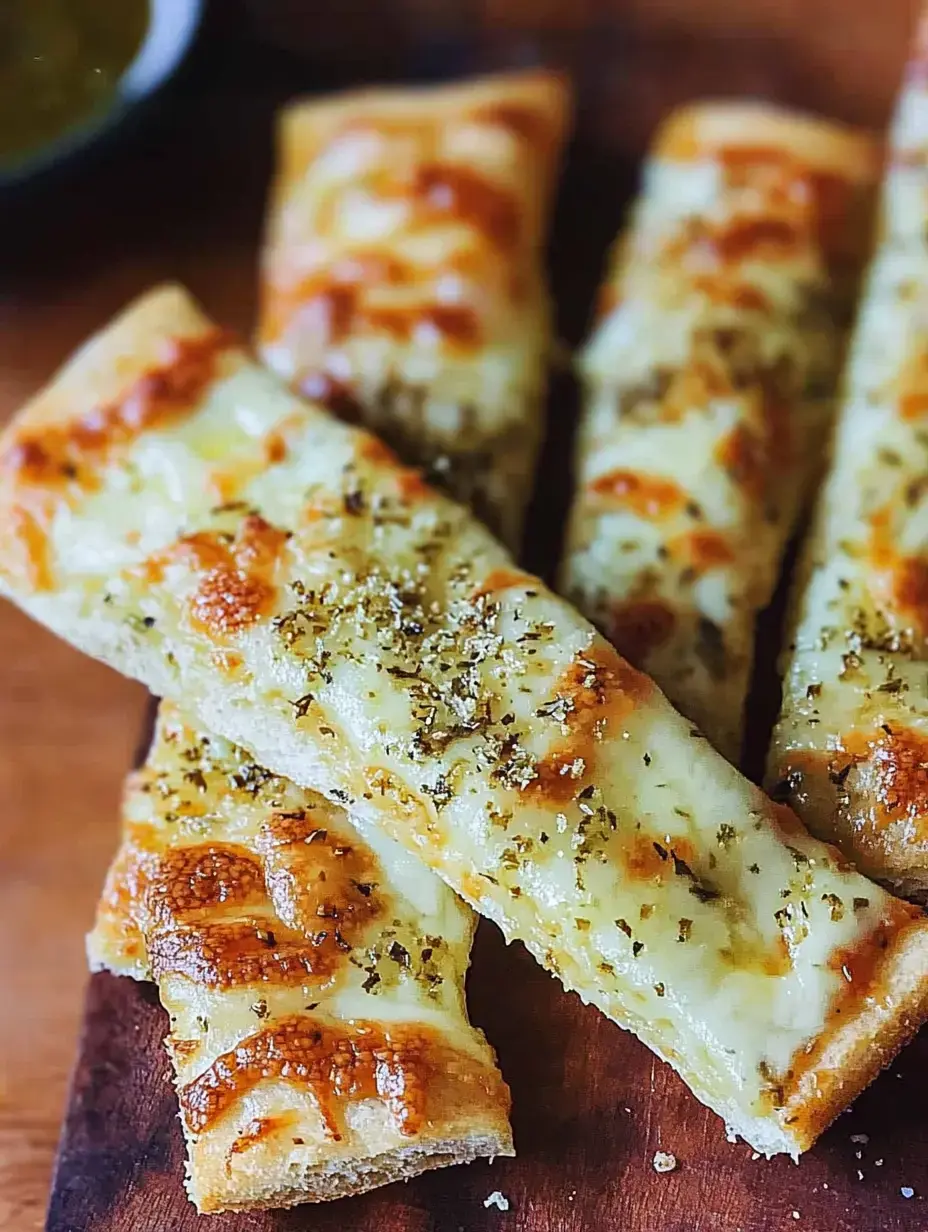
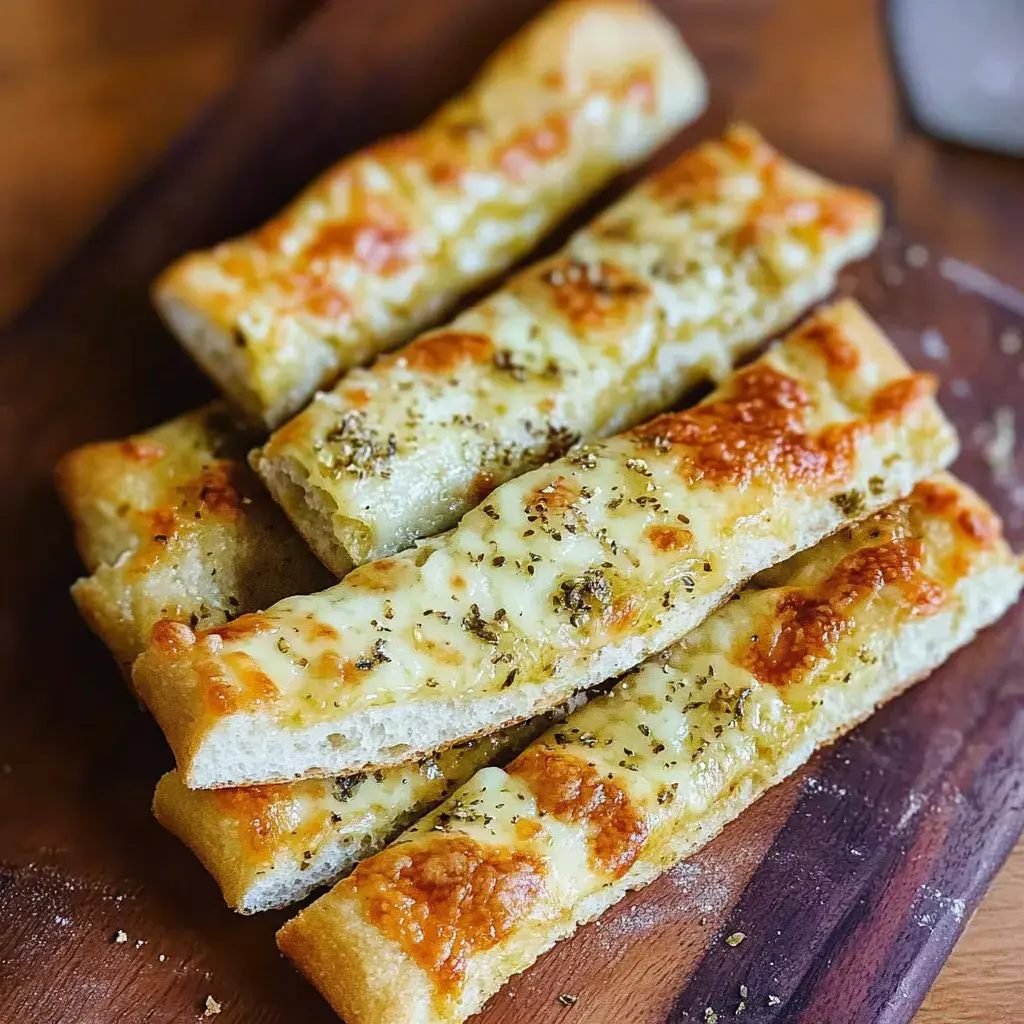
That Cheesy Topping
Now let's talk about what makes these absolutely irresistible. We're going to load them up with butter herbs and two kinds of cheese. I always grate my own cheese it melts so much better than the pre-shredded stuff.
Getting Started
First thing we do is wake up our yeast with some warm water and sugar. I love watching it get all foamy and bubbly. When you add that sourdough discard it gives everything such a wonderful depth of flavor.
 Pin it
Quick Rise Magic
This is where these breadsticks are different from traditional sourdough - they only need 20 minutes to rise! The combination of yeast and discard gives us the best of both worlds quick results and amazing flavor.
Shaping Time
I roll the dough out right on my baking sheet. No need to transfer it later which means less mess and stress. Make sure to get it nice and even so everything bakes at the same rate.
Into The Oven
The key to perfect breadsticks is baking them on the bottom rack. This gives you that crispy bottom while keeping the top gooey and cheesy. When that cheese starts bubbling and turning golden you know they're almost ready.
Serving Time
I love using my pizza cutter to slice these into perfect strips. Sometimes we make them wider sometimes thinner it really depends on what we're serving them with.
Making Them Your Own
The basic recipe is so versatile. Sometimes I'll stuff the edges with string cheese or sprinkle everything bagel seasoning on top. My kids love when I make a pizza version with pepperoni.
 Pin it
Keeping Them Fresh
If you somehow have leftovers they keep beautifully in the fridge. Just reheat them in the oven to get that cheese melty again. The microwave works in a pinch but the oven keeps them crispy.
Freezer Friendly
These freeze so well! I often make a double batch and freeze half. It's like having a little treasure in your freezer for those nights when you need something cozy and delicious.
Vegan Version
For my vegan friends I use plant-based butter and cheese. The breadsticks still turn out amazing - it's all about those herbs and that wonderful sourdough flavor.
Tips For Success
Make sure your water isn't too hot or it'll kill the yeast. I test it on my wrist just like you would for a baby bottle. And don't skip that second rise it makes such a difference in texture.
Perfect Partners
We love these with a big bowl of soup or alongside a fresh salad. They're also amazing dipped in marinara sauce or ranch dressing. My kids will eat them with anything.
 Pin it
Going Gluten Free
Yes you can make these gluten free! Just use your favorite cup-for-cup flour blend. The texture is slightly different but still delicious.
Fun Variations
Sometimes we make a sweet version with cinnamon sugar. Other times we add jalapeños for spice. The possibilities are endless once you get comfortable with the basic recipe.
Using Active Starter
Want even more sourdough flavor? Use active starter instead of discard. Just remember it'll need a bit more time to rise but the flavor is worth the wait.
Common Questions
People always ask about making these ahead and yes you can! Shape them cover and refrigerate then bake fresh when you need them. The cold actually helps develop more flavor.
Why We Love These
These Quick Sourdough Cheesy Breadsticks have become such a staple in our house. They're the perfect way to use up discard while creating something everybody loves. Give them a try and I bet they'll become your favorite too.
 Pin it
Frequently Asked Questions
- → What if I don't have sourdough discard?
While the discard adds flavor, you can skip it and add an extra 1/4 cup flour and 1/4 cup water instead. The texture will be slightly different but still delicious.
- → Can I freeze these breadsticks?
Yes, you can freeze them after baking. Cool completely, wrap well, and freeze for up to 3 months. Reheat in a 350°F oven until warm and crispy.
- → Why do you bake these on the lowest rack?
Baking on the lowest rack helps create a crispy bottom crust. The high heat from the bottom of the oven ensures the breadsticks aren't soggy.
- → Can I make these without a stand mixer?
You can mix and knead the dough by hand. It will take about 8-10 minutes of hand kneading to achieve the same smooth, elastic texture.
- → How do I know when the yeast is properly bloomed?
After 5 minutes, the yeast mixture should be foamy and bubbly on top. If it doesn't foam, your yeast might be old or your water too hot or cold.
Conclusion
Transform your leftover sourdough discard into delectable, golden-brown breadsticks that are crispy on the outside and soft on the inside. A perfect way to reduce waste and enjoy a quick, homemade treat.