
 Pin it
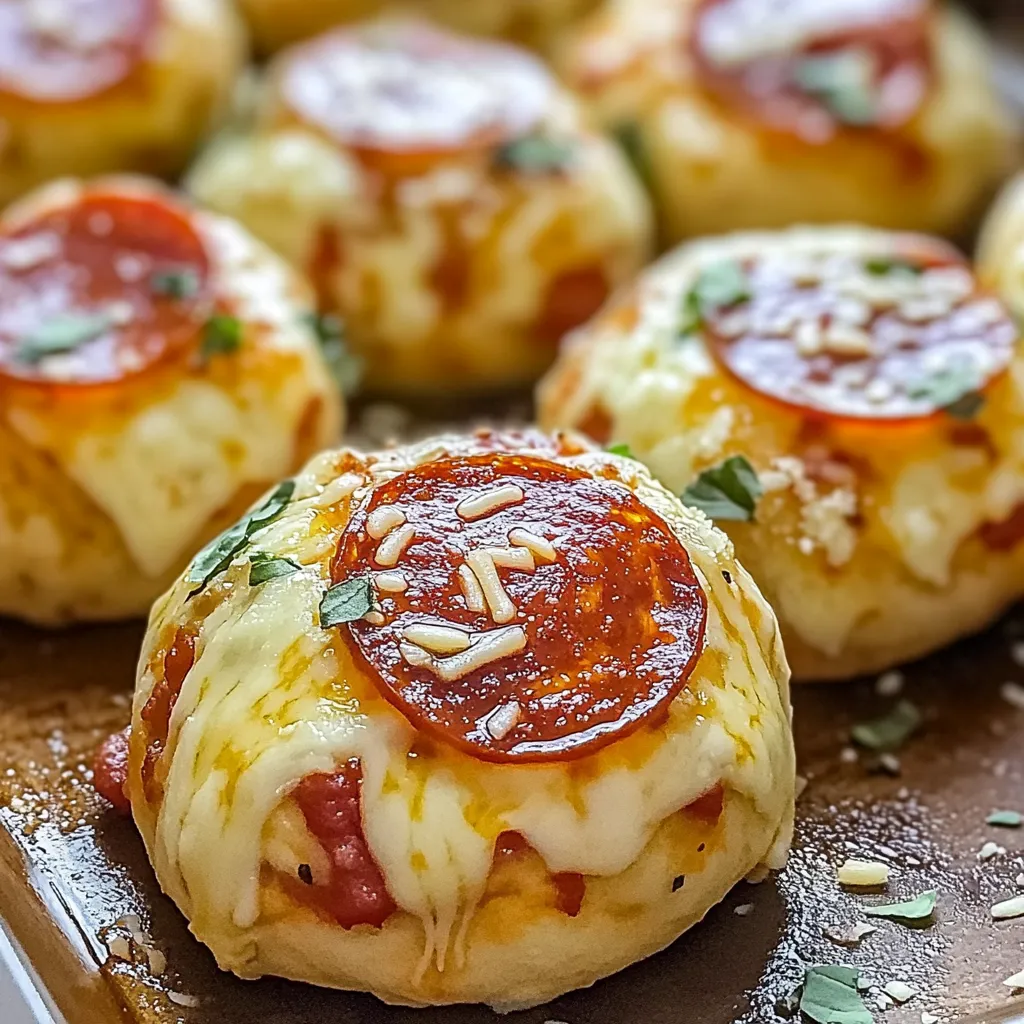
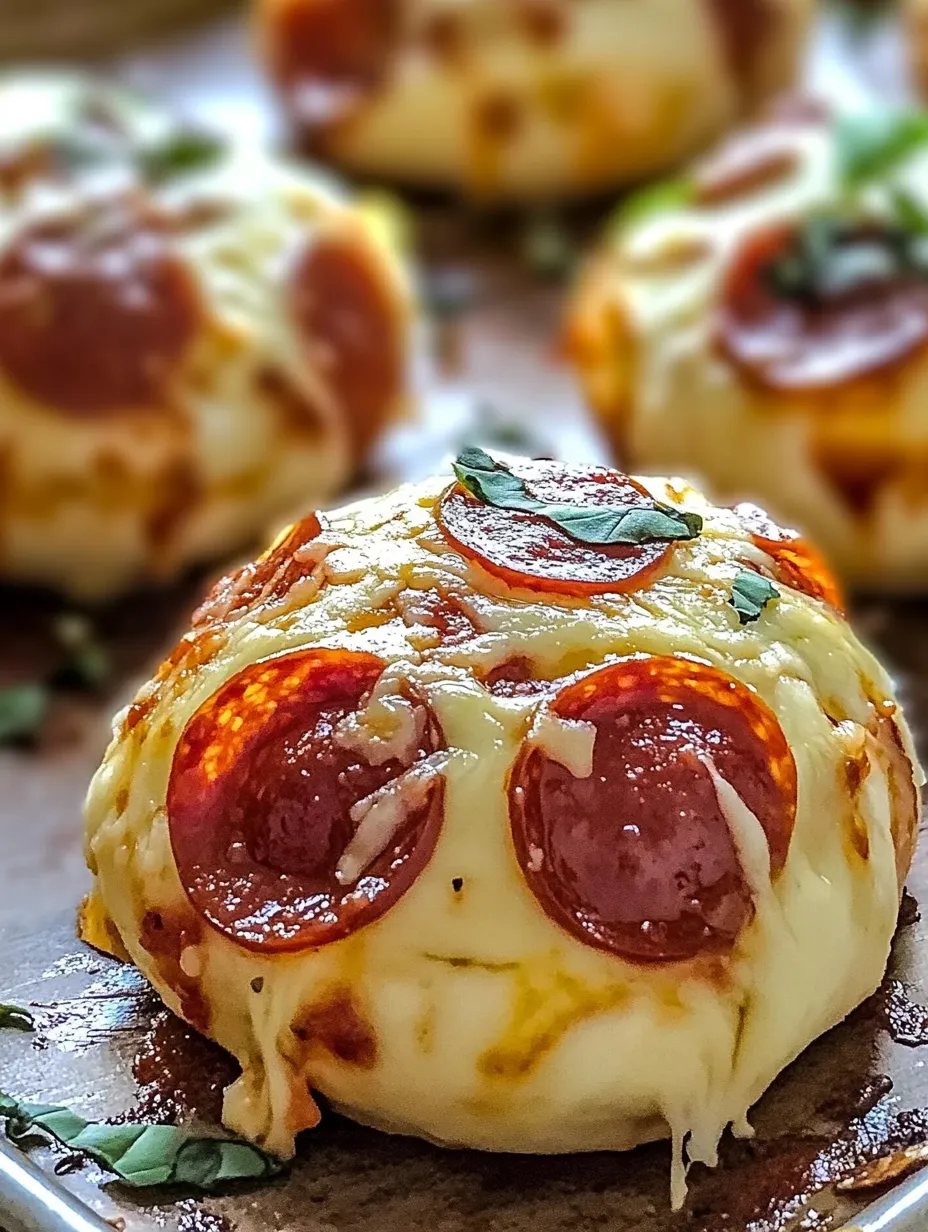
I stumbled across this recipe last fall when I needed something quick for my son's soccer team snack day. These little pizza bombs have since become our Friday night tradition. There's something magical about breaking open that golden dough to find the melty cheese and pepperoni hiding inside. They're almost too easy to make, which is dangerous because I find myself whipping them up whenever a pizza craving hits.
Made these for my niece and nephew when they stayed over last weekend. My nephew, who typically picks everything apart on his plate, devoured three without coming up for air. My sister-in-law texted me the next day saying the kids were asking when they could come back for "those pizza ball things."
Simple Ingredients
- Pizza dough: The refrigerated canned stuff works perfectly here. I've tried making my own, but honestly, the convenience factor wins.
- Marinara sauce: Use your favorite jarred sauce or leftover homemade. The thicker the better so it doesn't leak out.
- Mozzarella cheese: Freshly shredded melts way better than the pre-shredded bags. Worth the extra minute of effort.
- Pepperoni: I chop mine pretty small so every bite has some. Mini pepperoni slices work great too if you can find them.
- Olive oil: Just enough for that golden crust - don't skip this brushing step.
- Seasonings: The garlic powder and Parmesan on top take these from good to great. The red pepper flakes add a nice kick if you're into that.
 Pin it
Pizza Pocket Magic
- Dough Prep:
- Start with room temperature dough for easier handling. Flour your surface well to prevent sticking. I roll mine slightly thinner than it comes in the can - about 1/4 inch works perfectly.
- Cutting Strategy:
- Use a pizza cutter for quick, even squares. They don't need to be perfect - rustic looks more homemade anyway.
- Filling Balance:
- The secret is not overfilling. About a teaspoon of sauce, a pinch of pepperoni, and a generous pinch of cheese per square is perfect. Too much and they'll burst during baking.
- Sealing Technique:
- Bring all four corners to the center, then pinch all seams firmly closed. I sometimes use a bit of water on my fingers to help seal particularly stubborn edges.
- Placement Matters:
- Always place them seam-side down on the baking sheet. This prevents them from opening during baking and losing all that cheesy goodness.
- Oil Brush:
- Don't skip brushing with olive oil - it's what gives them that beautiful golden color and slight crispness on the outside.
My first attempt at these was a melty disaster. I overfilled them and didn't seal the edges well enough, ending up with what looked like mini pizza volcanoes. Delicious, but not pretty. Now I know that less filling and really pinching those seams tight makes all the difference. I've also discovered that using kitchen scissors makes quick work of chopping the pepperoni, and a small cookie scoop keeps the sauce portions consistent.
Creative Twists
While the pepperoni version is our favorite, there are endless variations worth trying. Try a supreme version with bell peppers, olives, and sausage (just make sure to pre-cook the sausage). For a vegetarian option, spinach and mushrooms work beautifully. Buffalo chicken with blue cheese is amazing for spice lovers. My kids love a breakfast version with scrambled eggs, bacon, and cheddar cheese.
Storage Solutions
These pizza bombs keep well in the refrigerator for 2-3 days in an airtight container. To reheat, pop them in a 350°F oven for about 5 minutes or in the air fryer for 2-3 minutes. They're actually pretty good cold too - my husband grabs them straight from the fridge for a quick snack. You can also freeze them after baking - just thaw overnight in the refrigerator before reheating.
 Pin it
I've made these pizza bombs for countless gatherings, last-minute dinners, and late-night cravings. There's something satisfying about watching people's faces light up when they bite into them and discover that perfect combination of flavors inside. My neighbor's kid now asks if I'm making pizza surprises whenever he comes over. Sometimes the simplest recipes become the most requested, and these little pockets of cheesy goodness have definitely earned their place in my regular rotation.
Frequently Asked Questions
- → Can I make these pizza bombs ahead of time?
- Yes! You can assemble them up to 24 hours ahead and store covered in the refrigerator. Brush with oil just before baking. You may need to add 2-3 minutes to the baking time if cooking from cold.
- → Can I freeze these pizza bombs?
- Absolutely! Freeze them unbaked on a baking sheet until solid, then transfer to a freezer bag. Bake from frozen at 375°F for about 18-20 minutes until golden and heated through.
- → What can I use instead of canned pizza dough?
- Refrigerated crescent roll dough, biscuit dough, or even homemade pizza dough work great. You can also use puff pastry for a flakier texture, though the flavor will be slightly different.
- → What other fillings can I add?
- Get creative with fillings like cooked sausage, ham, bacon, pineapple, olives, bell peppers, or different cheeses. Just make sure not to overfill or they may burst during baking.
- → Why are my pizza bombs leaking cheese?
- Make sure to seal the edges of the dough completely. If you notice any tears or thin spots in the dough, patch them up before baking. Also, avoid overfilling the dough squares.