
 Pin it
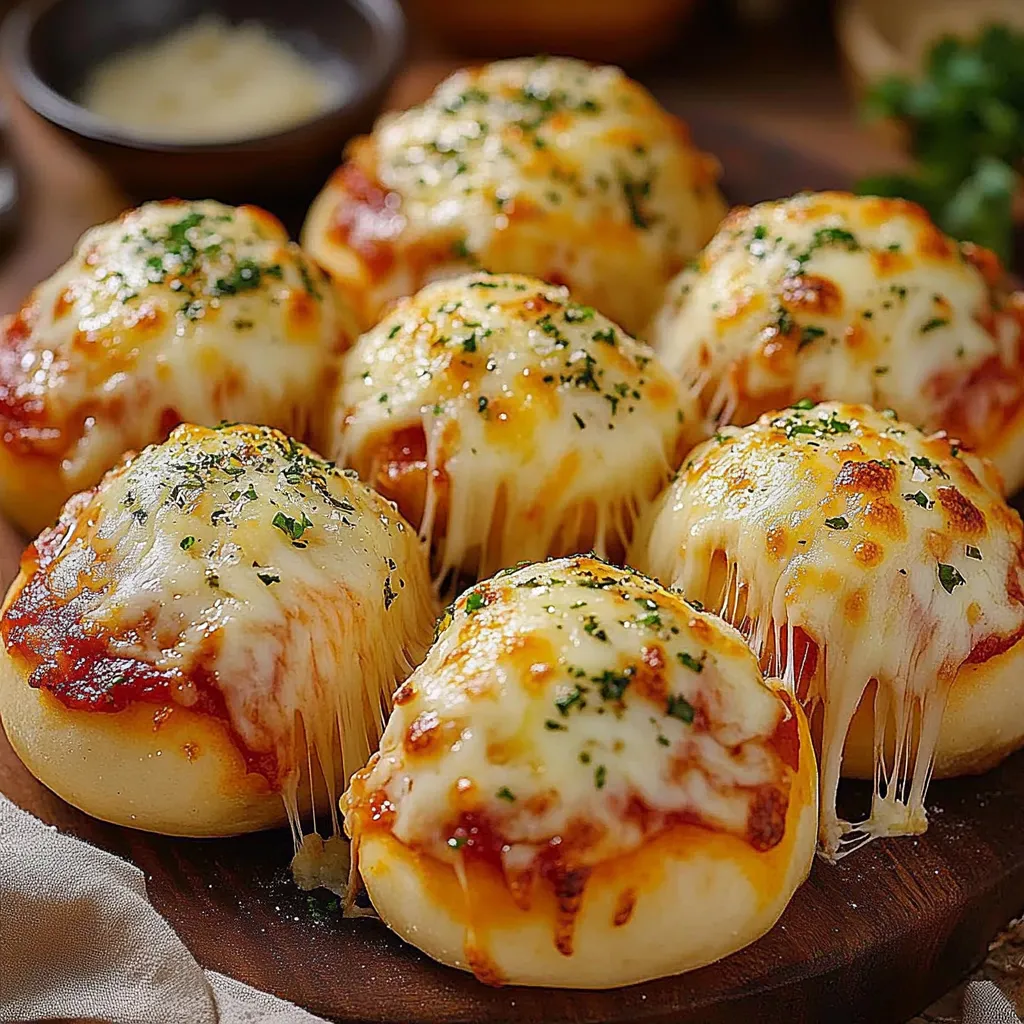
I stumbled onto this pizza bombs recipe last year when I needed something fun and easy for a game night with friends. The combination of fluffy biscuit dough, gooey cheese, and savory pepperoni creates these incredible little bites that disappear almost instantly. They've become my go-to when I need a crowd-pleasing appetizer that doesn't require hours in the kitchen.
My teenage nephew was visiting when I made these for the first time, and he ate seven of them before anyone else could grab seconds. When a hungry teen can't stop eating something, you know you've found a winner!
Simple Ingredients
- Refrigerated biscuit dough - The perfect shortcut that creates a soft, fluffy exterior
- Pizza sauce - Provides that classic pizza flavor without any work
- Mozzarella cheese - Creates that irresistible gooey, stretchy center
- Mini pepperoni - Adds savory flavor and fits perfectly inside the bombs
- Italian seasoning - That signature pizza herb blend that makes everything better
 Pin it
Pizza Bomb Creation
- Dough Flattening
- I've found that pressing each biscuit with my fingers works better than rolling with a pin, which can make them too thin. I aim for about a 4-inch circle with slightly thicker centers than edges, which helps prevent the filling from leaking. If the dough is sticking to your fingers, lightly dust them with flour. The first time I made these, I made the circles too thin and had filling break through during baking. Now I make sure they're thick enough to contain all that gooey goodness.
- Filling Technique
- Less is actually more when it comes to filling these bombs. About a teaspoon of sauce and a tablespoon of cheese is perfect - overfilling leads to leakage and frustration. I place the filling in the very center, leaving plenty of dough around the edges for sealing. For even distribution of pepperoni flavor, I chop regular pepperoni into smaller pieces rather than using whole slices, which can make sealing difficult.
- Sealing Method
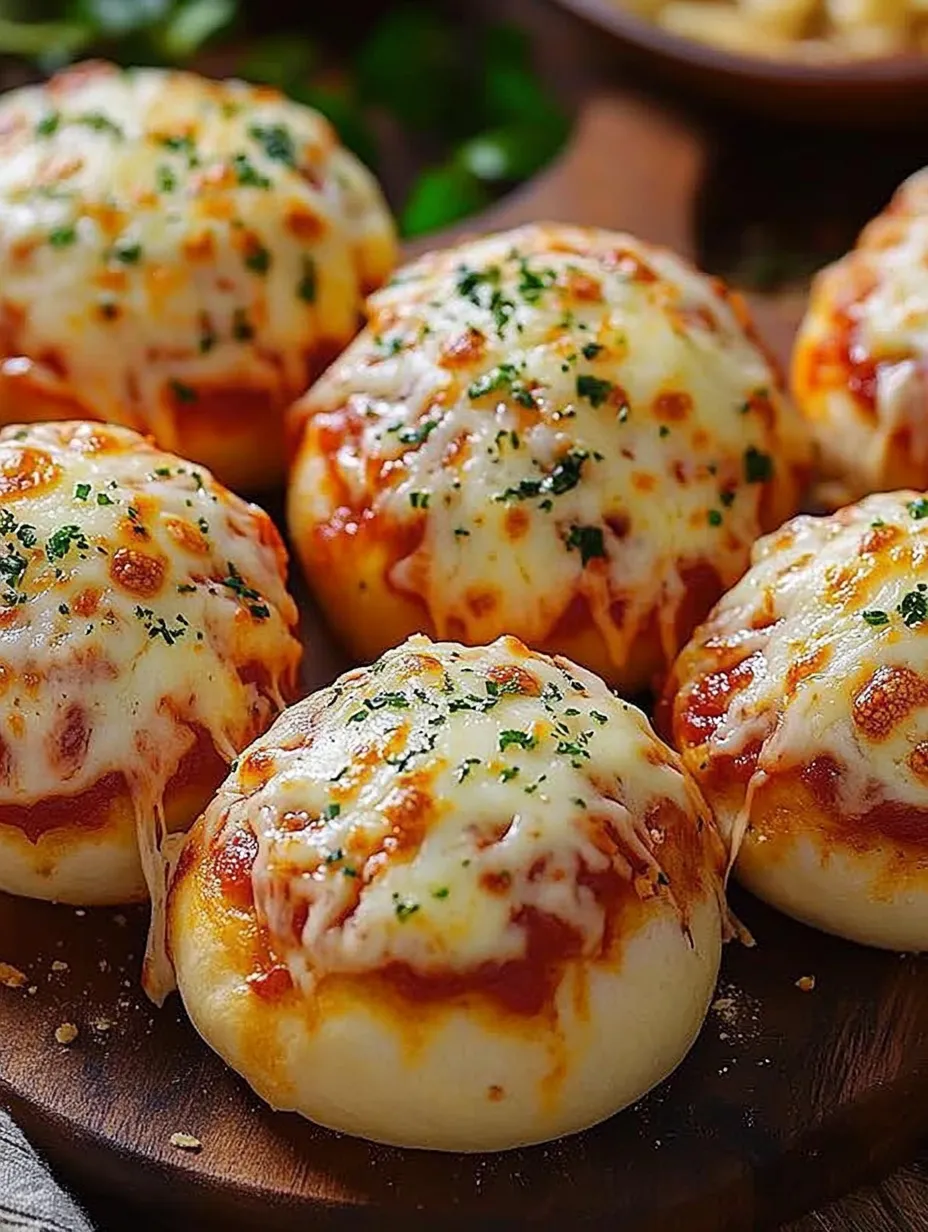
- This step is crucial for preventing cheese explosions during baking. I gather all the edges up into the center, almost like making a dumpling, then pinch firmly to create a tight seal. Sometimes I twist the gathered dough slightly to ensure it's well-sealed. After sealing, I roll the ball gently between my palms to create a nice round shape. Placing them seam-side down provides extra insurance against leaks.
- Butter Brushing
- A generous brush of melted butter before baking does three important things: it helps the seasoning stick, creates a beautiful golden color, and adds rich flavor to the outside of the bombs. I make sure to cover the entire surface for even browning. The Italian seasoning and Parmesan cheese sprinkled on top not only adds flavor but creates an attractive finish that hints at the pizza goodness inside.
- Baking Strategy
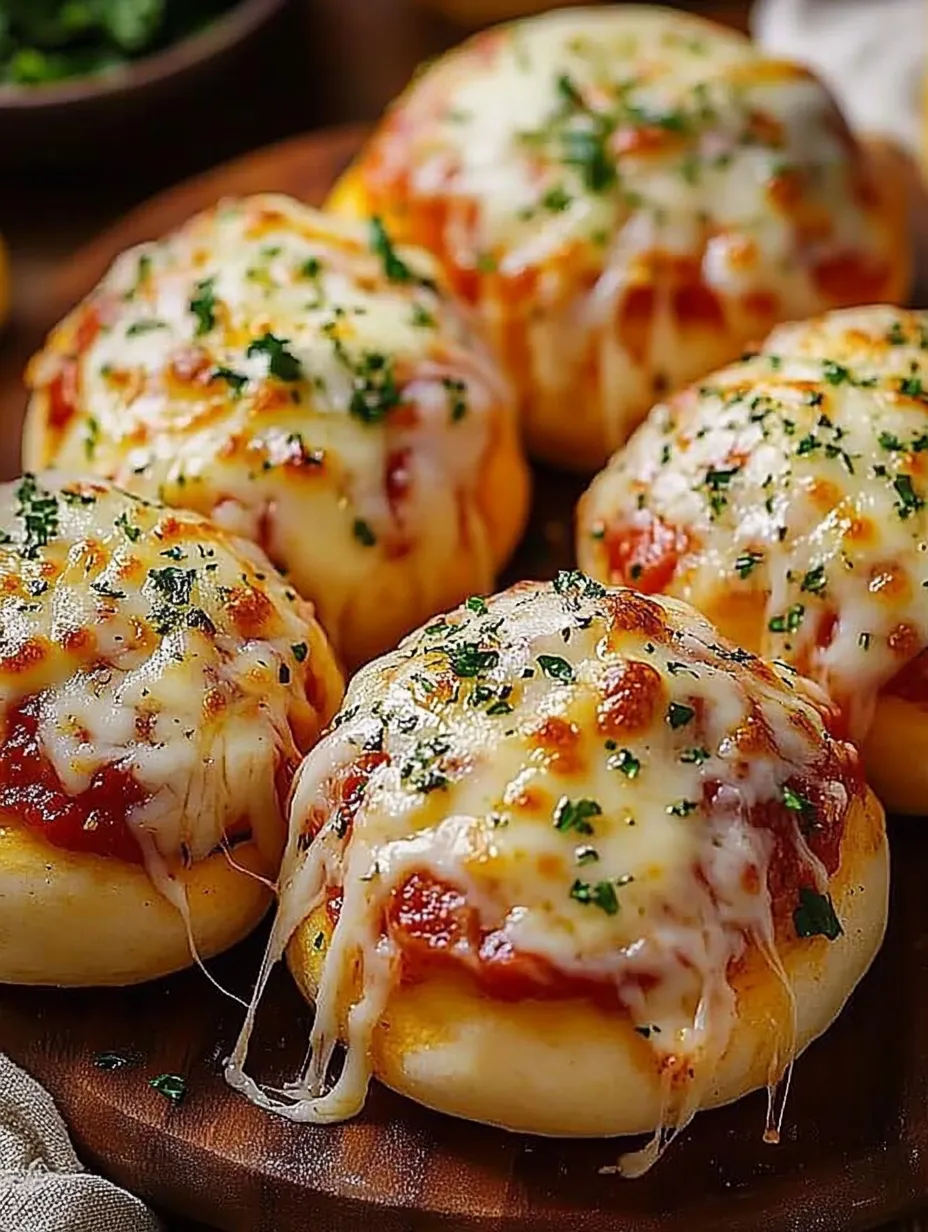
- I start checking at about 12 minutes, looking for that perfect golden brown color. They should be well-risen and firm to the touch, but not overly dark. If using a muffin tin instead of a baking sheet, they might need an extra minute or two. Leaving a little space between them on a baking sheet allows for even browning all around, though they do look cute nestled together in a muffin tin too.
- Serving Suggestion
- These bombs are at their absolute best when served warm, while the cheese inside is still gooey and stretchy. Having extra pizza sauce for dipping is non-negotiable - it adds moisture and extra flavor that complements the bombs perfectly. I like to serve them on a platter with the dipping sauce in a small bowl in the center, sometimes garnished with a sprinkle of fresh basil or oregano for color.
My husband, who typically doesn't get excited about appetizers, actually requested these for our last movie night. There's something about that combination of soft dough, tangy sauce, and melty cheese that appeals to everyone, regardless of age or usual food preferences.
Perfect Pairings
Serve these pizza bombs alongside a green salad for a complete meal. For parties, I arrange them on a platter with other finger foods like chicken wings or vegetable sticks. During game days, they're perfect alongside other crowd-pleasers like nachos or buffalo chicken dip. My kids love them as an after-school snack with carrot and celery sticks on the side.
Creative Variations
Try different fillings like ham and pineapple for a Hawaiian twist. Add a tiny cube of cream cheese to the center for extra creaminess. Create a supreme version with finely chopped bell peppers, onions, and olives mixed with the pepperoni. Last Super Bowl, I experimented with a buffalo chicken version using shredded chicken mixed with buffalo sauce instead of pepperoni, which was a huge hit with the spice lovers.
 Pin it
I've made these pizza bombs for everything from casual family movie nights to neighborhood potlucks, and they never fail to disappear quickly. There's something about that combination of familiar pizza flavors in a fun, bite-sized package that makes them irresistible. My daughter has started helping me make them, carefully sealing each little bundle and proudly serving them to our guests. Sometimes the most beloved recipes are the ones that combine simplicity, familiar flavors, and a bit of interactive fun in the kitchen.
Frequently Asked Questions
- → Can I make these ahead of time?
- Yes! You can assemble the pizza bombs up to 24 hours ahead and refrigerate them covered. Just brush with butter and add seasonings right before baking.
- → What other fillings can I use?
- Almost any pizza topping works great! Try cooked sausage, bacon bits, diced ham, bell peppers, olives, or mushrooms. Just make sure to chop fillings small and don't overstuff.
- → Can I use homemade dough instead of refrigerated biscuits?
- Absolutely! Pizza dough or dinner roll dough works well too. Divide it into 8 equal portions and follow the same instructions.
- → Why did my cheese leak out during baking?
- Make sure to completely seal the dough with no gaps or thin spots. Don't overfill with cheese, and place them seam-side down on the baking sheet.
- → How do I reheat leftover pizza bombs?
- For best results, reheat in a 350°F oven for 5-7 minutes until warm. Microwaving works in a pinch (30-45 seconds) but may make the dough slightly chewy.
- → Can I freeze these pizza bombs?
- Yes! Freeze unbaked pizza bombs on a baking sheet, then transfer to a freezer bag. Bake from frozen, adding 3-5 minutes to the baking time.