
 Pin it
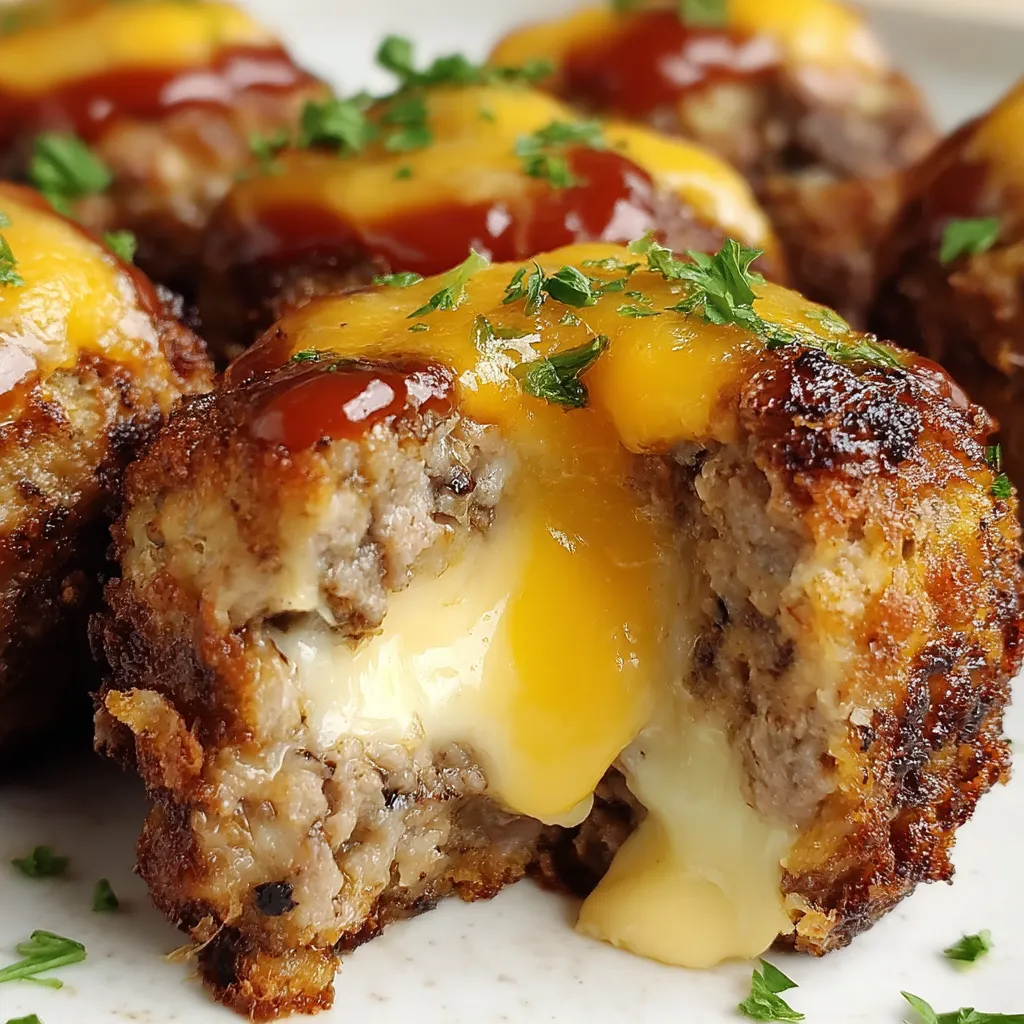
These little meatloaf bites happened when I was trying to figure out how to make meatloaf more exciting for my kids who always complained it was "boring." I had some leftover cheese cubes and thought, what if I just stuffed them inside mini meatloaves? The result was these incredible bite-sized portions that have all the comfort of regular meatloaf but with this amazing surprise of melted cheese in the center. When you bite into one, you get that familiar meatloaf flavor followed by a burst of gooey cheese that makes everyone's eyes light up. They're like little meatloaf presents that are perfect for parties or just making dinner feel special.
My neighbor brought these to a potluck thinking they'd be just another appetizer, but people kept asking what they were and going back for more. One guy said they reminded him of his grandmother's meatloaf but "way better because of the cheese thing." My own kids, who usually pick at their dinner, each ate four of these and asked if we could have them again next week.
What You Need
- Ground beef - I use 80/20 because the fat keeps them moist and flavorful instead of dry and crumbly
- Basic meatloaf ingredients - Breadcrumbs, egg, milk, and seasonings create that classic comfort food base
- Cheese cubes - Sharp cheddar or mozzarella work best because they melt nicely without getting greasy
- Ketchup and mustard - Mixed together for that classic meatloaf glaze that gets caramelized on top
- Mini muffin tin - This is what creates those perfect individual portions that cook evenly
 Pin it
Step-by-Step Instructions
- Meat Mixture Prep
- In a large bowl, combine your ground beef with breadcrumbs, milk, beaten egg, finely chopped onion, minced garlic, salt, pepper, Worcestershire sauce, and about a quarter cup of ketchup plus the mustard. Mix everything together with your hands until just combined - don't overmix or you'll get tough, dense meatballs instead of tender ones.
- Assembly Process
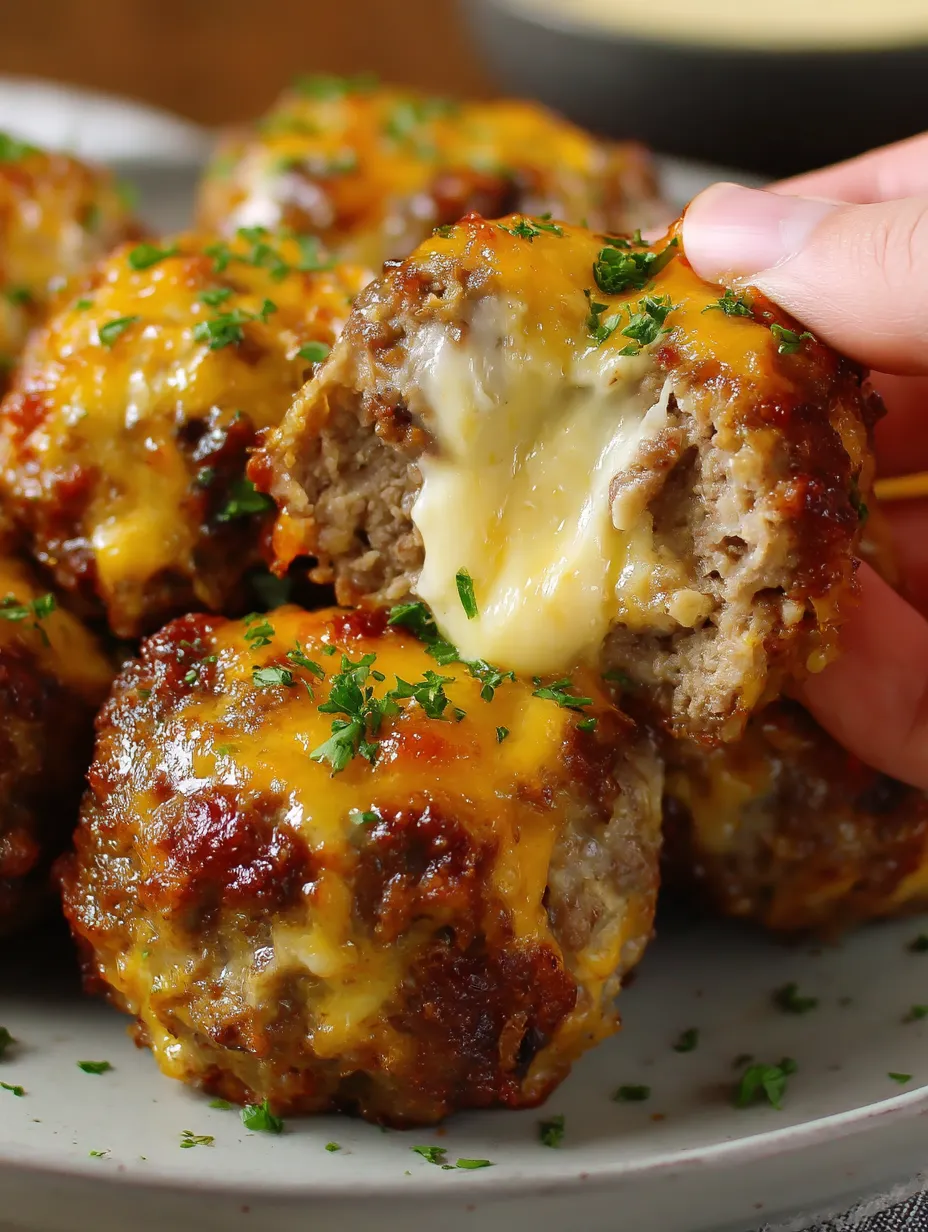
- Grease your mini muffin tin really well so they don't stick. Take about 2 tablespoons of the meat mixture and flatten it in your palm like a little pancake. Place a cube of cheese in the center, then wrap the meat around it and roll it into a ball, making sure the cheese is completely enclosed. Place each ball in a muffin cup.
- Glaze Creation
- Mix the remaining quarter cup of ketchup with a little bit of mustard - maybe a teaspoon or so. This creates that classic meatloaf glaze that gets slightly caramelized and delicious during baking. Spoon a little bit of this mixture on top of each meatloaf bite.
- Baking Process
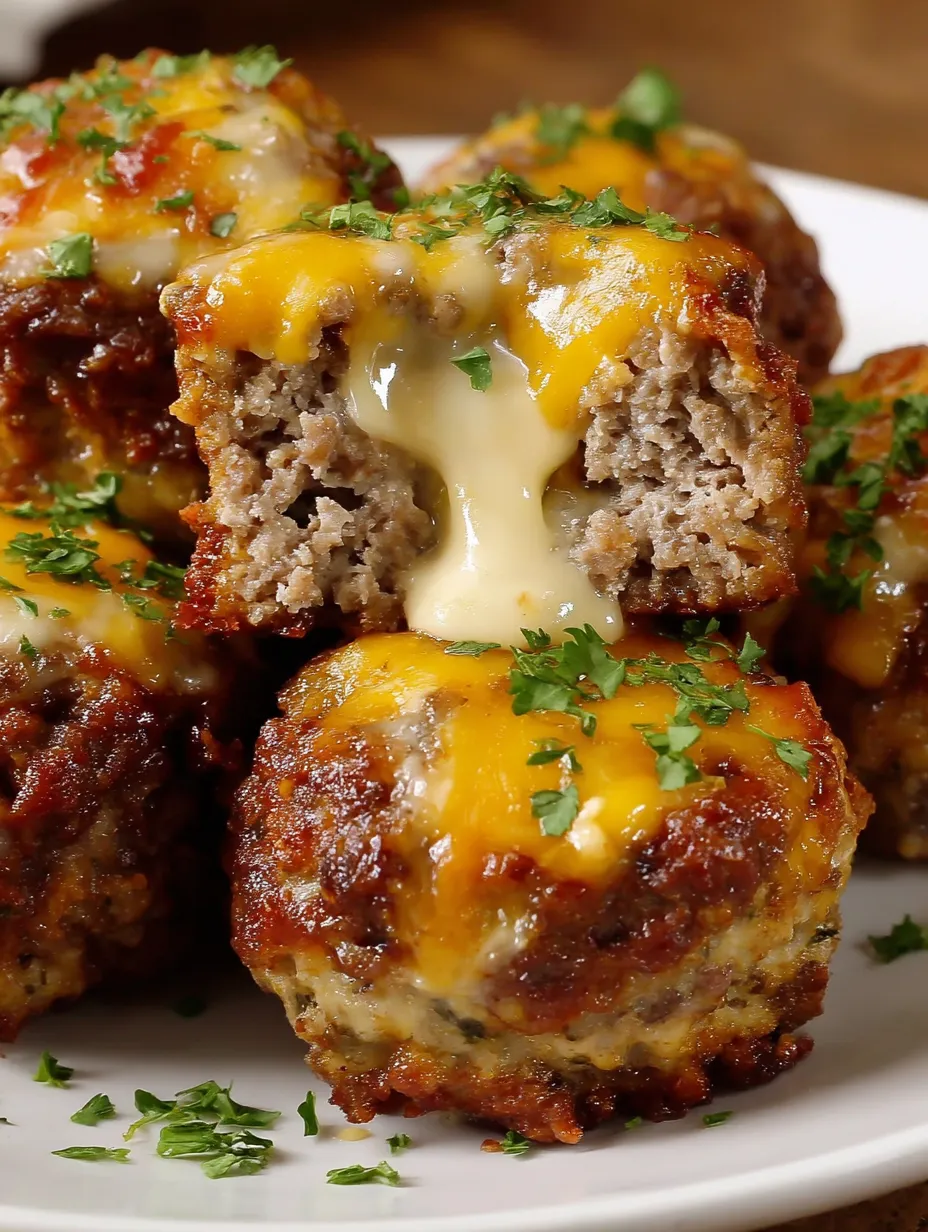
- Bake at 375 degrees for about 18 to 22 minutes, until they're nicely browned on top and cooked through. You can check with a meat thermometer - they should reach 160 degrees internally. The tops should look caramelized and the cheese inside should be completely melted.
- Resting Time
- Let them cool in the pan for about 5 minutes before removing them. This cooling time helps the cheese set up slightly so it doesn't all ooze out when you take your first bite, but it's still gooey and delicious inside.
I learned the sealing lesson the hard way when half my first batch leaked cheese all over the muffin tin. Now I'm really careful to wrap the meat completely around the cheese and pinch any seams closed. Also, I used to try to peek at them while baking, but opening the oven door too much makes them cook unevenly.
Perfect Pairings
These work great as appetizers with some ranch or honey mustard for dipping, but they're also perfect as a main course with mashed potatoes and green beans. For parties, I put them on a platter with toothpicks and watch them disappear. My kids love them with mac and cheese, which is basically a cheese overload but makes them happy.
Creative Variations
Try different cheeses like pepper jack for heat or Swiss for a milder flavor. Adding some bacon bits to the meat mixture creates an incredible bacon cheeseburger vibe. For Italian flair, use mozzarella cheese and add some Italian seasoning to the meat. I've also made these with ground turkey when I want something lighter.
Storage Solutions
These keep really well in the fridge for about 4 days and reheat perfectly in the microwave or back in the oven. You can also freeze them after baking for up to 3 months - just thaw and reheat when you want them. They're perfect for meal prep because you can make a big batch and have quick dinners ready all week.
 Pin it
These cheesy stuffed meatloaf bites have completely changed how my family thinks about meatloaf. They take something that can be boring and ordinary and turn it into these exciting little packages that everyone gets excited about. The combination of familiar comfort food flavors with that surprise cheese center makes every bite interesting. Every time I make them, I'm reminded that sometimes the best recipes come from just trying to solve a simple problem - like how to make meatloaf more fun.
Frequently Asked Questions
- → Can I use different types of cheese?
- Yes! Cheddar and mozzarella work best because they melt well, but you could also try pepper jack, Swiss, or gouda. Just make sure it's a good melting cheese.
- → How do I prevent the cheese from leaking out?
- Make sure to completely seal the meat mixture around the cheese cube. Press the edges together well and roll into a smooth ball to prevent any openings.
- → Can I make these ahead of time?
- Yes! You can assemble them and refrigerate for up to 24 hours before baking, or freeze them for up to 3 months. Just add a few extra minutes to the cooking time if baking from cold.
- → What if I don't have a mini muffin tin?
- You can form them into balls and place them on a parchment-lined baking sheet, or use a regular muffin tin and make larger portions (just increase the cooking time).
- → How do I reheat leftovers?
- Reheat in the oven at 350°F for about 10 minutes, or microwave for 30-45 seconds. The oven method will keep them crispier on the outside.