
 Pin it
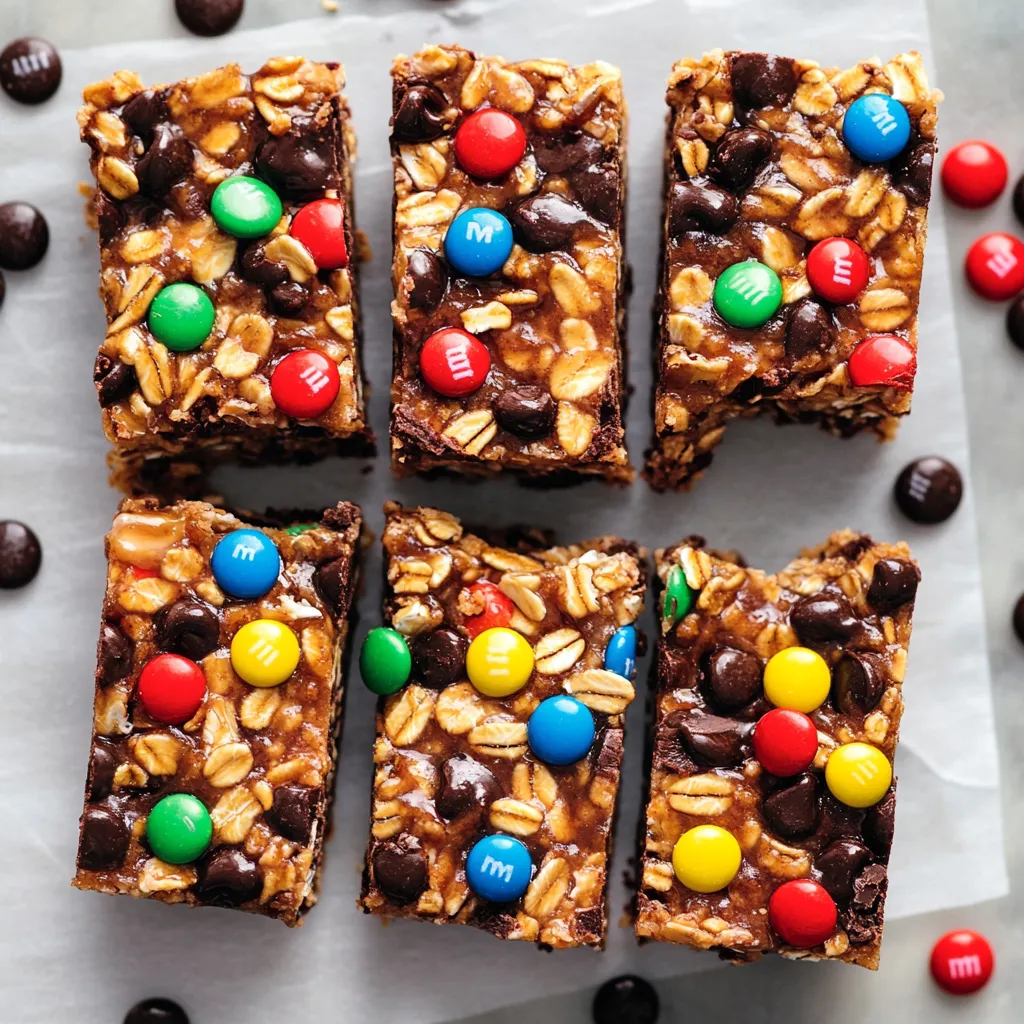
These aren't just any granola bars - they're the result of my ten-year-old coming home from school one day, waving a store-bought bar in my face and asking why ours didn't have candy in them. Fair question, kid. After three messy attempts that ended up as expensive granola (and one memorable batch that glued my measuring cups together), we nailed it. These bars are chewy, perfectly sweet, and yes, loaded with just enough M&Ms to make them feel special without turning into candy bars.
The day I sent these to my daughter's softball practice, I got five text messages from other moms asking for the recipe. That's when I knew we had a winner on our hands.
Essential Ingredients
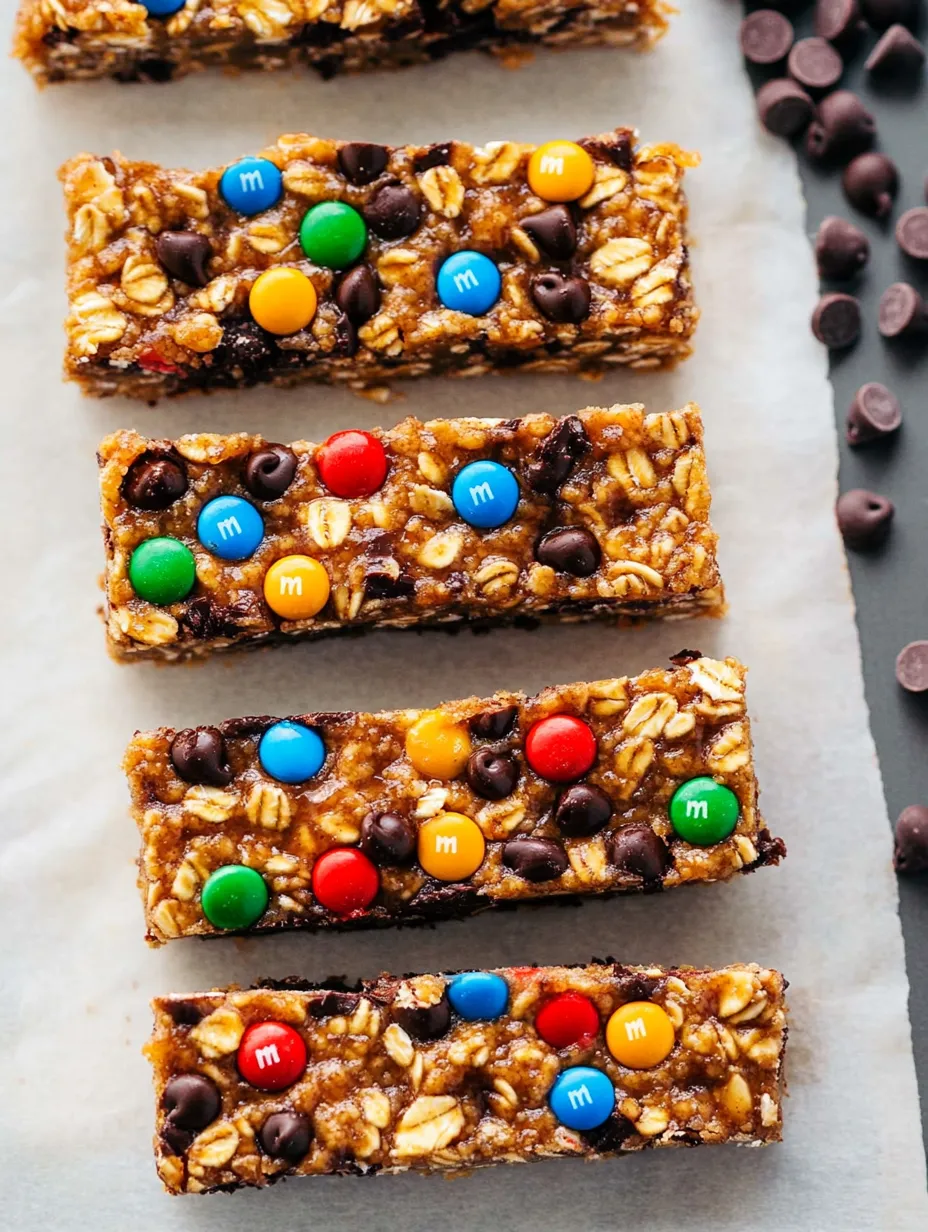
- Old-Fashioned Oats: Don't even think about using quick oats here - they'll turn to mush
- Peanut Butter: The creamy kind makes these bars hold together like magic
- Honey: Here's a trick - spray your measuring cup with cooking spray first and the honey slides right out
- Cashews: Get the roasted, salted ones. Trust me, they make all the difference
- M&Ms and Chocolate Chips: Because if we're going to do this, let's do it right
 Pin it
Creating Your Bars
Listen, here's the thing about the wet ingredients - you've got to measure them like you're doing a science experiment. One time I eyeballed it and ended up with something that could have resurfaced my driveway. Now I spray my measuring cups first, and everything slides out perfectly. My kids fight over who gets to watch the 'honey waterfall.'
Mix the peanut butter, honey, and coconut oil until it looks like liquid gold. Not too hot though - I learned that lesson when all my chocolate chips melted and turned these into marbled bars. Which, honestly, wasn't the worst mistake I've ever made in the kitchen.
You've got to fold in those oats like you're tucking them into bed - gentle but thorough. Each little oat needs its peanut butter-honey blanket. My youngest calls this the 'beach sand' part because it looks like we're building sand castles when we mix it all together.
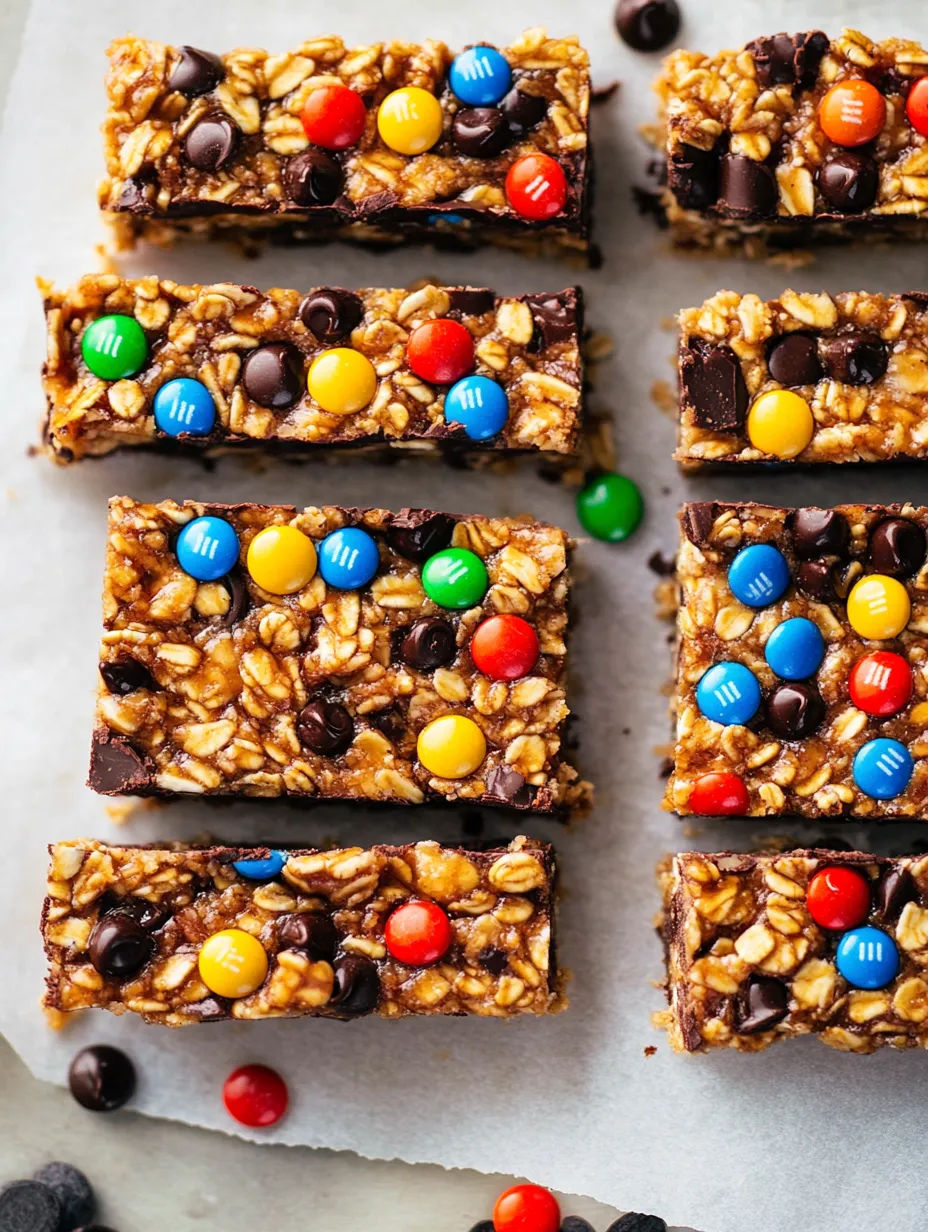
The first time I made these, I got impatient and tried to cut them while they were still warm. Ended up with fancy granola and a valuable lesson in patience. Now I know better - these bars are like good revenge, best served cold.
I've had these bars stashed in my purse during soccer tournaments, packed in lunchboxes, and hidden in my desk drawer for 'emergencies' (like Tuesday afternoons). They're sturdy enough to survive being smooshed under a water bottle and tasty enough that my kids actually trade their store-bought snacks for them.
My neighbor's kid - you know, the one who only eats white foods? Even he asks for these. Although he does pick out all the M&Ms and make a little candy pile first. Can't win them all, I guess.
Storage and Such
Look, these bars will hang out in your fridge for a week, but good luck keeping them that long. I once tried hiding a batch behind the lettuce - my teenagers have apparently developed some kind of snack-radar. Now I double-batch and freeze individual bars. Pro tip: wrap them in parchment, not plastic wrap. Learned that the hard way when I had to chisel frozen plastic off my 'emergency' stash.
Making Them Your Own
Sometimes I swap in different nuts (pecans were a game-changer), or switch up the candy (try mini peanut butter cups - you're welcome). Once, during a pandemic pantry clean-out, I used a mixture of whatever nuts and dried fruit I could find. We called them 'Kitchen Sink Bars' and somehow they disappeared just as fast.
 Pin it
Kitchen Wisdom
- Toast your oats first if you're feeling fancy
- A hot knife makes cutting way easier - run it under hot water, wipe it dry
- If your bars aren't holding together, you probably skimped on the sticky stuff
You know what's funny? These bars started as my attempt to compete with store-bought snacks, but now my kids' friends ask their parents to buy 'the ingredients for those bars' instead of the packaged ones. Even my mother-in-law asked for the recipe, and she once told me I was holding my spatula wrong.
Final Thoughts
Here's the real secret - these aren't just granola bars. They're after-school stories, sports practice fuel, and "mom, I forgot to eat breakfast" solutions all wrapped up in parchment paper. They're the kind of recipe that makes you look like you've got it all together, even when you're serving them straight from the freezer because you forgot about the bake sale.
And yes, they're sweet enough to feel like a treat but wholesome enough that you can still call them granola bars with a straight face. Even if your kid does pick out all the M&Ms first. At least they're eating the oats, right?
Frequently Asked Questions
- → Why won't my bars stick together?
- Make sure to press the mixture very firmly into the pan and let them chill completely before cutting.
- → Can I use different nuts?
- Yes, any chopped nuts can be substituted for the cashews. Just adjust salt if using salted nuts.
- → Do these need to be refrigerated?
- Yes, store in the fridge for up to 1 week or freeze for up to 6 months.
- → Can I make these without peanut butter?
- Yes, substitute any nut or seed butter, keeping in mind it may affect the final taste and texture.
- → Why let the mixture cool before adding chocolate?
- Cooling prevents the chocolate from melting completely, maintaining distinct chips in the finished bars.