
 Pin it
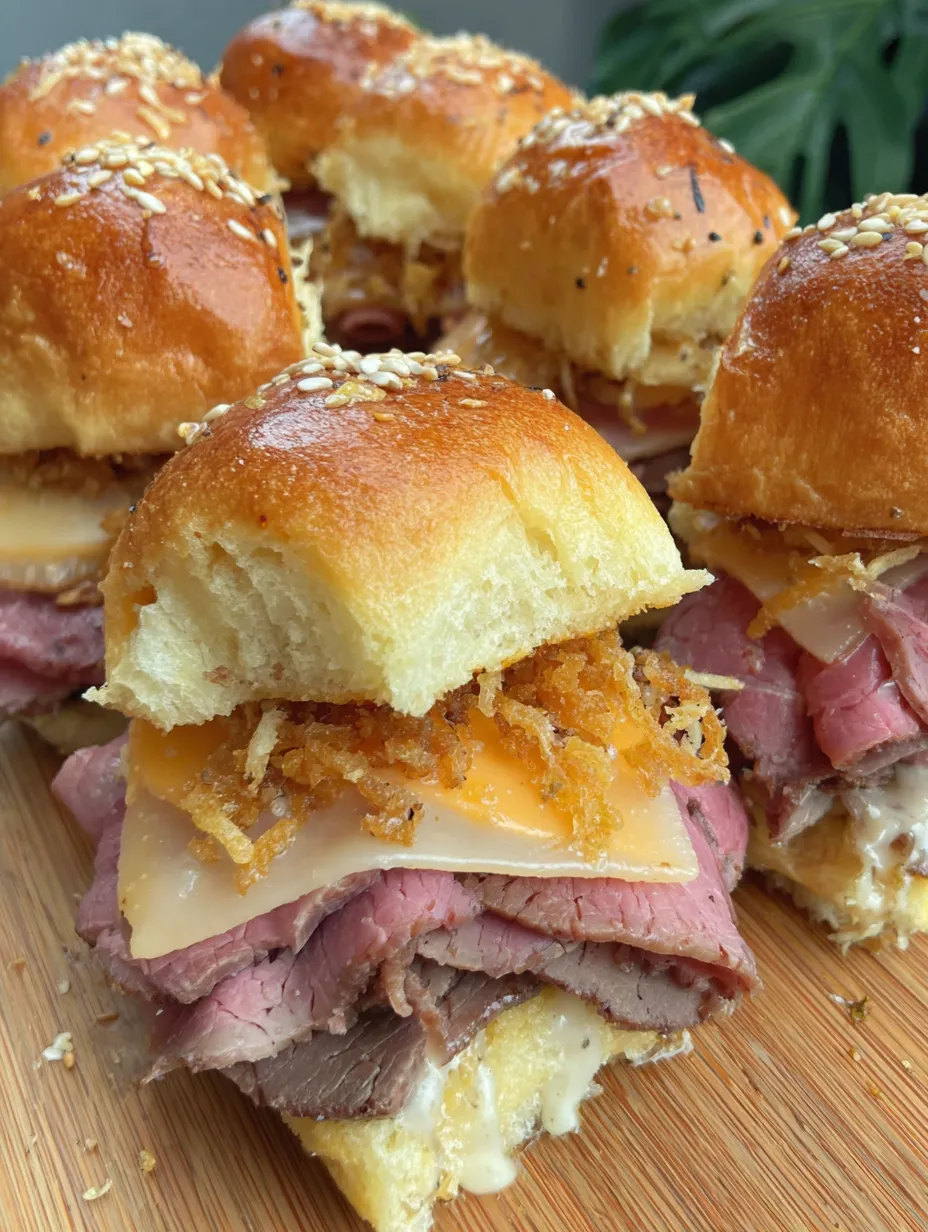
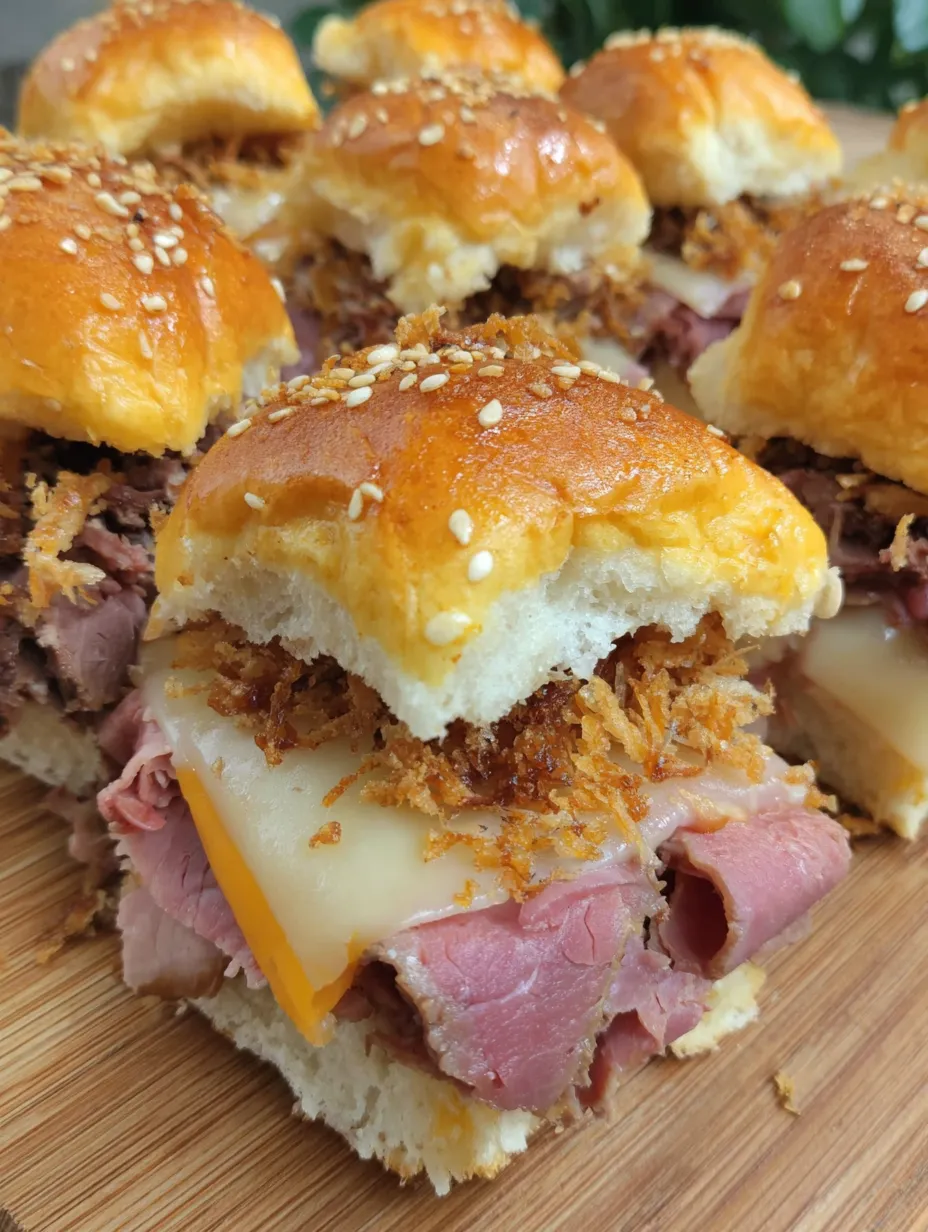
These chipotle roast beef sliders started when I had leftover deli roast beef that needed using up but didn't want to make boring regular sandwiches. My kids were tired of the same old lunch options, and I remembered those amazing slider platters from restaurants that always disappear so quickly. The combination of sweet Hawaiian rolls with smoky chipotle sauce and melted cheese seemed like the perfect way to elevate simple roast beef into something special. After experimenting with different cheese combinations and that buttery garlic topping, we created these incredible little sandwiches that have become our go-to for game day gatherings and casual dinners.
My sister made these for her husband's fantasy football draft party and said they were gone before halftime of the first game. The guys kept asking who catered them because they couldn't believe something that good was homemade. Now she's become the official party food coordinator for their friend group, and everyone specifically requests "those amazing roast beef sliders" for every gathering.
Smart Ingredient Selection
- King's Hawaiian rolls essential: The sweet bread is what makes these special and different from regular sliders
- Deli roast beef quality: Use good quality sliced roast beef from the deli counter for best flavor and texture
- Provolone cheese base: Melts beautifully and has mild flavor that doesn't compete with the chipotle sauce
- Cheddar cheese squares: Cut into small pieces for even distribution and extra cheese flavor in every bite
- French's crispy onions: Adds that perfect crunch element that makes these restaurant-quality
- Quality chipotle sauce: Since it's a main flavor component, good sauce makes a noticeable difference
 Pin it
Simple Assembly Process
- Preparing the foundation
- Start by carefully opening the connected Hawaiian slider buns, keeping the top and bottom halves intact as single units. This makes assembly much easier and ensures even distribution of ingredients across all the sliders.
- Building the cheese base
- Lay the five slices of provolone cheese evenly across the bottom half of the buns, making sure each slider position gets covered. The cheese acts as a moisture barrier and prevents the bread from getting soggy from the sauce.
- Layering the main components
- Distribute the roast beef evenly over the provolone cheese, folding the slices naturally rather than compacting them. Drizzle chipotle sauce over the roast beef according to your family's heat preference - a little goes a long way with this smoky sauce.
- Adding texture and flavor
- Place the cut cheddar cheese squares over the sauced roast beef, then sprinkle the crispy fried onions generously over everything. These onions add that crucial crunch factor that elevates these from basic to special.
- Topping preparation
- Place the top half of the buns over the assembled fillings, creating a complete slider tray. Melt the butter and brush it evenly over the tops of all the buns, then sprinkle with garlic powder and sesame seeds for extra flavor and visual appeal.
- Baking to perfection
- Bake at 350 degrees Fahrenheit for about ten minutes until the tops are golden brown and the cheese is completely melted. If you have a smoker, that adds incredible flavor, but the oven works perfectly for most people.
My first batch was a mess because I tried to assemble individual sliders instead of keeping them connected, which made everything slide around and created uneven portions. I also used way too much chipotle sauce initially, making them too spicy for my kids and difficult to eat without everything sliding out. Learning to use restraint with sauces and keeping things connected made all the difference.
Perfect Serving Ideas
Serve these sliders immediately while they're hot and the cheese is still molten. Cut them apart just before serving so everyone gets a perfect individual portion. They pair wonderfully with kettle chips and pickle spears for a classic sandwich meal. For parties, arrange them on a large platter with different dipping sauces on the side.
Creative Recipe Variations
Transform these sliders by using different deli meats like turkey or ham for variety. For spice lovers, add sliced jalapeños with the other toppings or use pepper jack cheese instead of cheddar. You can also experiment with different sauce combinations like ranch or honey mustard for completely different flavor profiles. Bacon lovers can add crispy bacon pieces along with the crispy onions.
Storage and Reheating
These sliders taste absolutely best when eaten immediately while the buns are crispy and the cheese is melted. Leftovers can be stored in the refrigerator for two days and reheated in a 300-degree oven for about five minutes. Avoid the microwave, which makes the buns soggy and doesn't restore the crispy texture properly.
 Pin it
These chipotle roast beef sliders perfectly capture what I love about comfort food that brings people together without requiring complicated cooking techniques. The combination of sweet Hawaiian rolls, smoky chipotle flavors, and melted cheese creates this amazing eating experience that appeals to both kids and adults. They've become our signature appetizer for casual entertaining because they consistently deliver restaurant-quality results using simple grocery store ingredients that most families already have on hand.
Frequently Asked Questions
- → Can I use a different type of bun?
- Hawaiian sweet buns are ideal because their sweetness balances the spicy chipotle, but regular slider buns or dinner rolls work too.
- → How spicy is chipotle sauce?
- Chipotle sauce has a mild to medium heat with smoky flavor. Start with less and add more to taste - you can always add more but can't take it away!
- → Can I make these without a smoker?
- Absolutely! Oven baking at 350°F works perfectly. The smoker just adds extra flavor, but they're delicious either way.
- → What can I substitute for the crispy fried onions?
- Try crispy jalapeños, bacon bits, or even thinly sliced fresh onions. The crispy texture adds a nice contrast to the soft sliders.
- → How far ahead can I assemble these?
- You can assemble them completely up to 4 hours ahead and refrigerate. Just add 2-3 extra minutes to the baking time if starting cold.