
 Pin it
I've been making these deviled eggs for family gatherings for years, and they're always the first thing to disappear from the table. The secret is using Miracle Whip instead of regular mayonnaise – it gives them this perfect balance of tangy and sweet that mayo just doesn't have. The sweet relish adds little bursts of flavor and texture that make these different from your standard deviled eggs. Every time I bring these to a potluck, people ask me for the recipe, so I finally decided to write it down with all my little tricks.
Last Easter, my sister-in-law (who claims to hate eggs) tried one just to be polite and ended up eating four of them! She asked what I put in them that makes them so different from other deviled eggs. It's definitely the Miracle Whip and relish combo – don't substitute these ingredients if you want that classic flavor.
Simple Ingredients
- Large eggs: create the perfect sized vessel for the filling
- Miracle Whip: provides creaminess with a tangy zip that regular mayo lacks
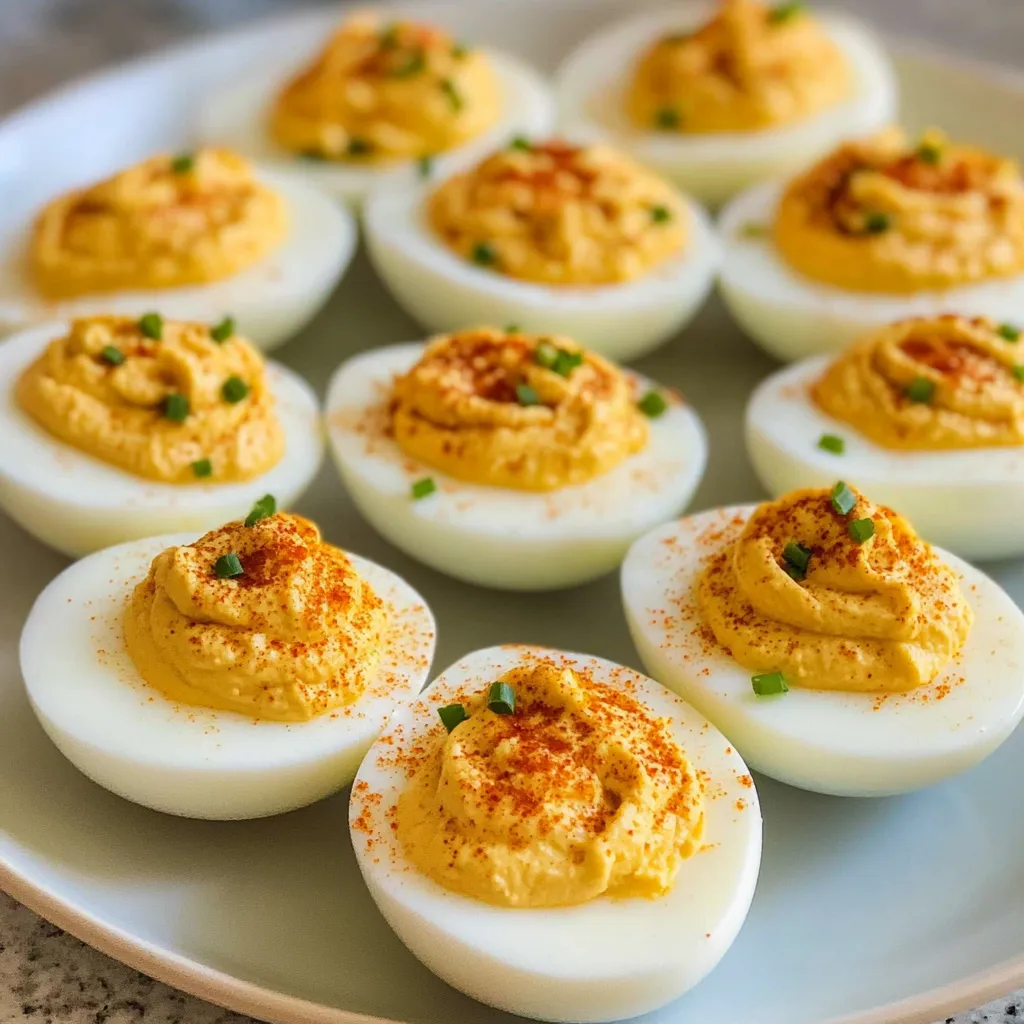
- Yellow mustard: adds that classic deviled egg color and flavor
- Apple cider vinegar: brightens everything up with a subtle tang
- Sweet relish: creates little pops of flavor in every bite
- Just a touch of sugar: balances all the tangy elements
I've tried fancy versions with Dijon mustard or without relish, but I always come back to this classic combination. When I was first learning to make these, I used regular mayonnaise because that's what I had on hand. They were good, but not great. Switching to Miracle Whip was a game-changer – that slightly sweeter, tangier flavor is what makes these eggs special.
 Pin it
Egg Techniques
- Perfect prep:
- Before you do anything else, grab a bowl large enough to hold all your eggs and fill it with water and ice. This ice bath will be crucial for stopping the cooking process later. I used to skip this step and wonder why my yolks sometimes had that greenish ring – turns out, they were continuing to cook even after I took them off the heat. Select a pot with plenty of room for the eggs to move around – crowding them can cause cracking. I add a bit of salt to the water, which helps if any eggs crack during cooking by causing the whites to coagulate quickly.
- Gentle cooking:
- Place your eggs in the pot and add enough cold water to cover them by about an inch. Turn the heat to high and bring the water to a boil. As soon as you see a rolling boil, reduce the heat so the water is no longer boiling vigorously. I use a slotted spoon or tea strainer to gently lower the eggs into the water – doing this carefully prevents cracking. Once all eggs are in, return the heat to bring the water back to a gentle boil. Set your timer for 14 minutes exactly – this timing gives you perfectly cooked yolks that are set but still creamy, not chalky.
- Cooling quickly:
- When the timer goes off, immediately remove the eggs from the hot water and transfer them to your prepared ice bath. This rapid cooling is crucial for two reasons: it stops the cooking process instantly, and it helps create a pocket of air between the shell and egg that makes peeling much easier. Let them chill in the ice bath for a good 10-15 minutes. Don't rush this step – eggs that aren't completely cooled are much harder to peel. I sometimes even leave them in the fridge for an hour if I'm not in a hurry.
- Peeling perfectly:
- Once the eggs are completely cooled, it's time for the sometimes-frustrating part – peeling. I gently tap each egg all over on my countertop to create cracks, then start peeling from the wider end where there's usually an air pocket. If you're having trouble, try peeling under a gentle stream of cold water, which helps wash away shell fragments and lubricates between the shell and egg. Inspect each egg carefully after peeling to make sure no tiny shell bits remain – nobody wants that unpleasant crunch when biting into a deviled egg!
- Filling finesse:
- Cut the peeled eggs lengthwise with a sharp knife – a dull knife will give you jagged edges. Carefully remove the yolks and place them in a bowl. I use a fork to mash the yolks until they're completely smooth – any lumps now will show up in your final filling. Add the Miracle Whip, vinegar, mustard, and sugar, then mix until everything is thoroughly combined and creamy. At this point, I taste and adjust the seasonings if needed. Fold in the sweet relish last so it doesn't get mashed up – those little pieces of pickle add great texture contrast.
- Beautiful presentation:
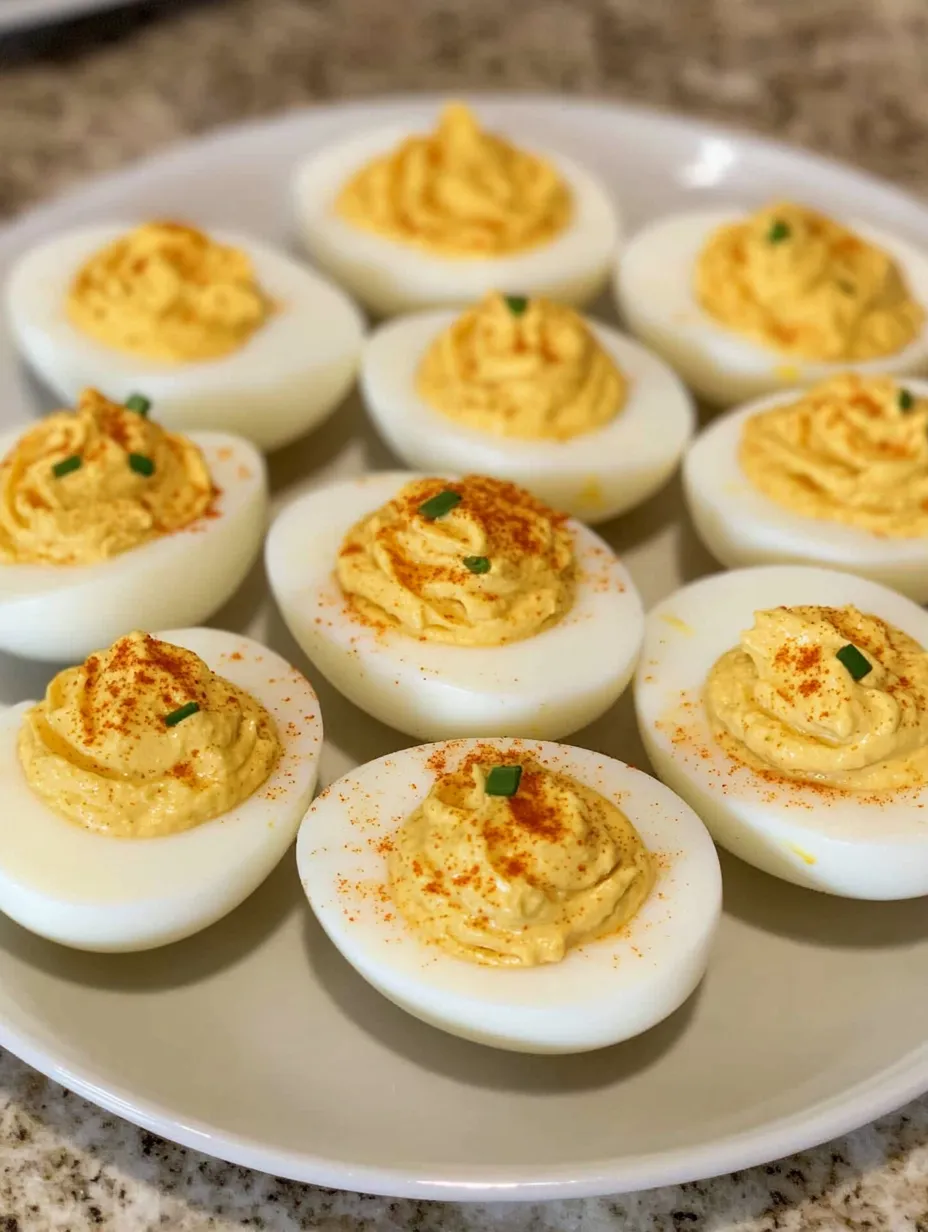
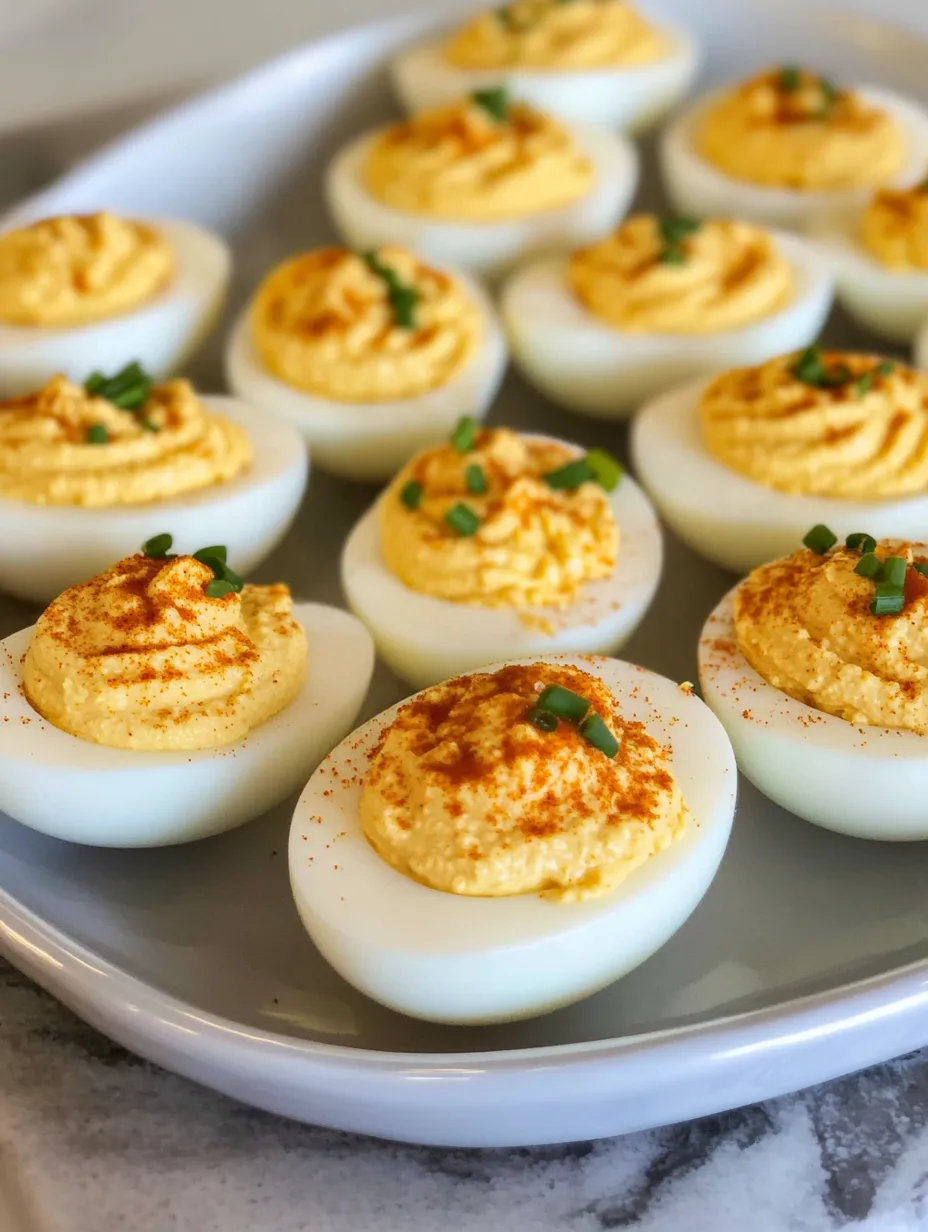
- For casual family gatherings, I just spoon the filling into the egg whites. But when I want to impress, I use a piping bag fitted with a star tip to create beautiful swirls of filling. If you don't have a piping bag, a zip-top bag with the corner snipped off works in a pinch. A light dusting of paprika adds both color and a subtle smoky flavor. For a fresh touch, I sometimes sprinkle on some finely chopped chives. Always refrigerate the finished eggs in a covered container until serving time – they taste best when chilled, and the filling sets up nicely in the fridge.
My first attempt at deviled eggs was a disaster – I overcooked them, skipped the ice bath, and ended up with green-ringed yolks and eggs that looked like they'd been attacked rather than peeled. Now I follow this method religiously and get perfect results every time. I've also learned that letting the eggs come to room temperature before cooking helps prevent cracking during the boiling process.
Serving Style
For casual gatherings, I arrange these on a regular serving plate. But for holidays or special occasions, I use my grandmother's deviled egg plate that has special indentations to hold each half securely. If you don't have a dedicated egg plate, a bed of mixed salad greens makes a pretty presentation and keeps the eggs from sliding around. I always make a few extra because inevitably someone (usually my husband) sneaks one or two before they make it to the table.
 Pin it
Easy Variations
For a bit of heat, add a dash of hot sauce or cayenne pepper to the filling. Around the holidays, I sometimes add a tiny bit of horseradish for a festive kick. If you're feeling fancy, top each egg with a tiny piece of crispy bacon or a small slice of olive. For a lighter version, you can swap half the Miracle Whip for Greek yogurt, though I still think the full Miracle Whip recipe tastes best. My daughter likes when I add a tiny pinch of dill to the filling, which gives them a fresh, herbal note.
I've been making these deviled eggs for so long that I rarely measure anymore – I just go by taste. But I've included exact measurements here so you can get that perfect balance of flavors that makes these eggs disappear so quickly at every gathering. They're simple, classic, and absolutely delicious – just the way deviled eggs should be!
Frequently Asked Questions
- → Can I make deviled eggs ahead of time?
- Yes! You can make them up to 24 hours in advance. Keep them covered in the refrigerator until ready to serve.
- → Why use Miracle Whip instead of mayonnaise?
- Miracle Whip gives these deviled eggs a slightly sweeter, tangier flavor than mayonnaise. If you prefer mayo, you can substitute it one-for-one.
- → My eggs are difficult to peel. Any tips?
- Use eggs that are at least a week old, and make sure to plunge them into ice water immediately after boiling. Starting with the wider end of the egg often makes peeling easier.
- → How do I get perfectly centered yolks?
- Store your eggs on their sides in the carton for 24 hours before cooking. This helps center the yolks.
- → Can I add other ingredients to the filling?
- Absolutely! Try adding crispy bacon bits, finely diced jalapeños, or a dash of hot sauce for different flavor variations.
- → What's the best way to transport deviled eggs to a party?
- Use a specialized deviled egg carrier or place them in a shallow container lined with damp paper towels to prevent sliding. Transport the garnishes separately and add them just before serving.