
 Pin it
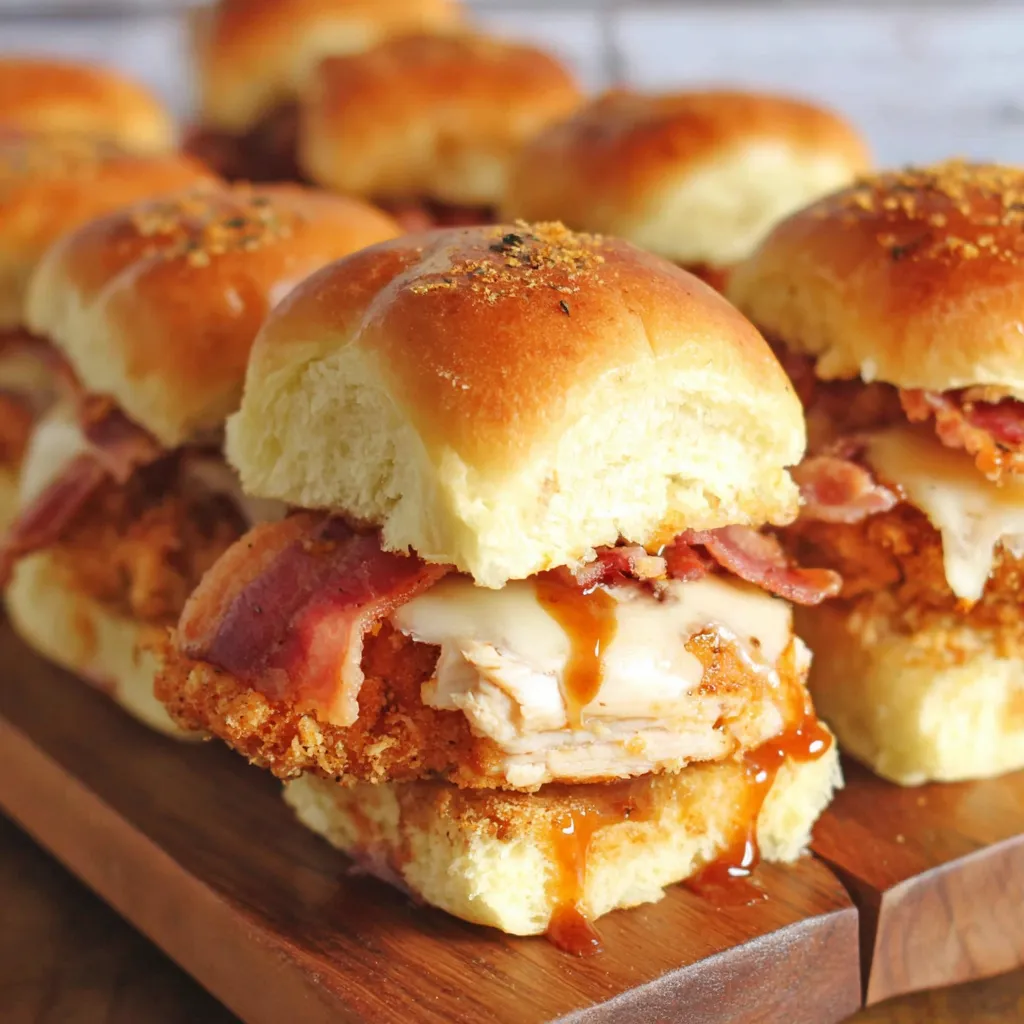
These maple chicken and bacon sliders saved my sanity when I was scrambling to figure out what to bring to my daughter's soccer team potluck and suddenly realized I'd volunteered to feed twenty hungry kids and their equally hungry parents. I'd been making the same tired sandwiches for team events all season, and frankly, both the kids and I were getting bored with my usual offerings. The inspiration struck when I was staring at a package of King's Hawaiian rolls in my kitchen, thinking about how much everyone loves those sweet, soft buns, and wondering what would happen if I turned them into something more exciting than plain dinner rolls. The combination of maple butter, tender chicken, crispy bacon, and melted gouda on those perfect little buns created this incredible sweet-and-savory balance that had kids and adults literally fighting over the last few sliders.
My friend Lisa discovered these when she tried one at the soccer potluck and immediately pulled out her phone to take pictures of the empty pan so she could ask me about the recipe later. She said her family had been in a dinner rut for weeks, and these looked like exactly the kind of thing that would get her kids excited about food again. Two days later she texted me saying she'd made them for dinner and her usually picky eight-year-old had eaten three whole sliders and asked if they could have them "every day forever." Sometimes the best recipes are the simplest ones that just happen to hit every comfort food note perfectly.
Essential Components
- King's Hawaiian rolls: The slight sweetness is crucial for the flavor balance, and they're the perfect size for sliders
- Good quality chicken strips: Use rotisserie chicken strips or cook your own - the flavor and texture matter here
- Real maple butter: This is what makes these special instead of ordinary. You can make your own by mixing butter with pure maple syrup
- Thick-cut bacon: Crispy bacon adds the salty, smoky element that balances all that sweetness perfectly
- Gouda cheese: Melts beautifully and has a rich, nutty flavor that complements both the maple and bacon
 Pin it
Making Slider Magic
- Prep your foundation
- Preheat your oven to 375 degrees and get ready for the easiest assembly process ever. Cut the entire package of Hawaiian rolls in half horizontally, keeping the bottom and top halves intact as two large pieces. This makes assembly so much faster and ensures even distribution of ingredients across all twelve sliders.
- Create the maple base
- Spread the bottom half of the rolls generously with maple butter, making sure to get good coverage across the entire surface. If you don't have maple butter, you can easily make your own by mixing softened butter with pure maple syrup until smooth. This sweet base is what makes these sliders special instead of just regular chicken sandwiches.
- Layer for maximum flavor
- Distribute the cooked chicken strips evenly across the maple butter layer, making sure each roll section gets a good amount. Add the crispy bacon pieces, breaking them up if needed to cover all the sliders evenly. Top with the gouda cheese slices, covering the meat completely so every bite gets that melted cheese goodness.
- Complete the assembly
- Place the top half of the Hawaiian rolls over the filled bottom half, creating one large sandwich that you'll cut into individual sliders after baking. This technique ensures everything stays together during cooking and makes serving much easier.
- Bake to melted perfection
- Slide the assembled sliders into your preheated oven for 10-15 minutes, until the cheese is completely melted and the rolls are lightly golden on top. The timing depends on how crispy you like your rolls and how melted you want the cheese, but start checking at ten minutes to avoid overcooking.
- Finish with style
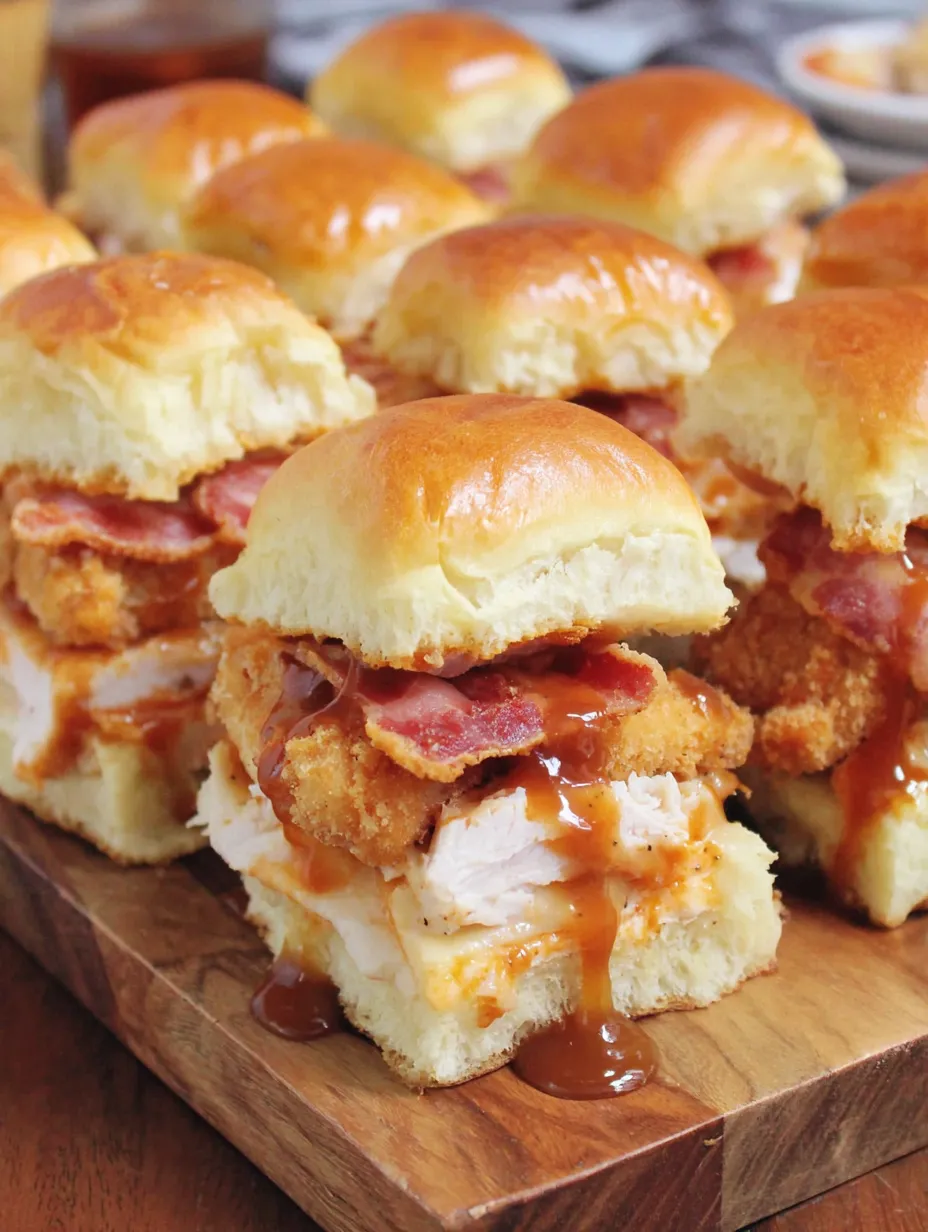
- Remove from the oven and immediately brush the tops with additional maple butter while everything's still hot. This creates that gorgeous glossy finish and adds extra maple flavor that makes these taste restaurant-quality. Let them cool for just a minute before cutting along the natural roll divisions to create twelve perfect individual sliders.
Making maple chicken and bacon sliders has become my go-to solution for any gathering where I need something that looks impressive but doesn't require advanced cooking skills or hours of preparation. The sweet Hawaiian rolls provide the perfect base for the savory fillings, creating this amazing flavor combination that feels both familiar and special.
What I love most about this recipe is how the maple butter transforms ordinary ingredients into something that tastes gourmet. The sweetness balances the salty bacon and rich gouda perfectly, while the tender chicken makes these substantial enough to be a real meal instead of just a snack.
The technique of keeping the rolls connected during assembly and baking makes this so much easier than trying to make twelve individual sliders. Everything cooks evenly, the ingredients stay where they're supposed to, and serving becomes a simple matter of cutting along the lines instead of dealing with a bunch of separate pieces.
One thing I learned through making these multiple times is that the quality of your chicken really matters since it's such a prominent ingredient. Rotisserie chicken works perfectly and saves time, but if you cook your own, make sure it's well-seasoned and tender.
The maple butter finish at the end isn't just for looks - it adds that final layer of flavor that makes these taste professional and polished instead of just thrown together. Plus it creates that appetizing shine that makes people want to grab one immediately.
Perfect Party Presentation
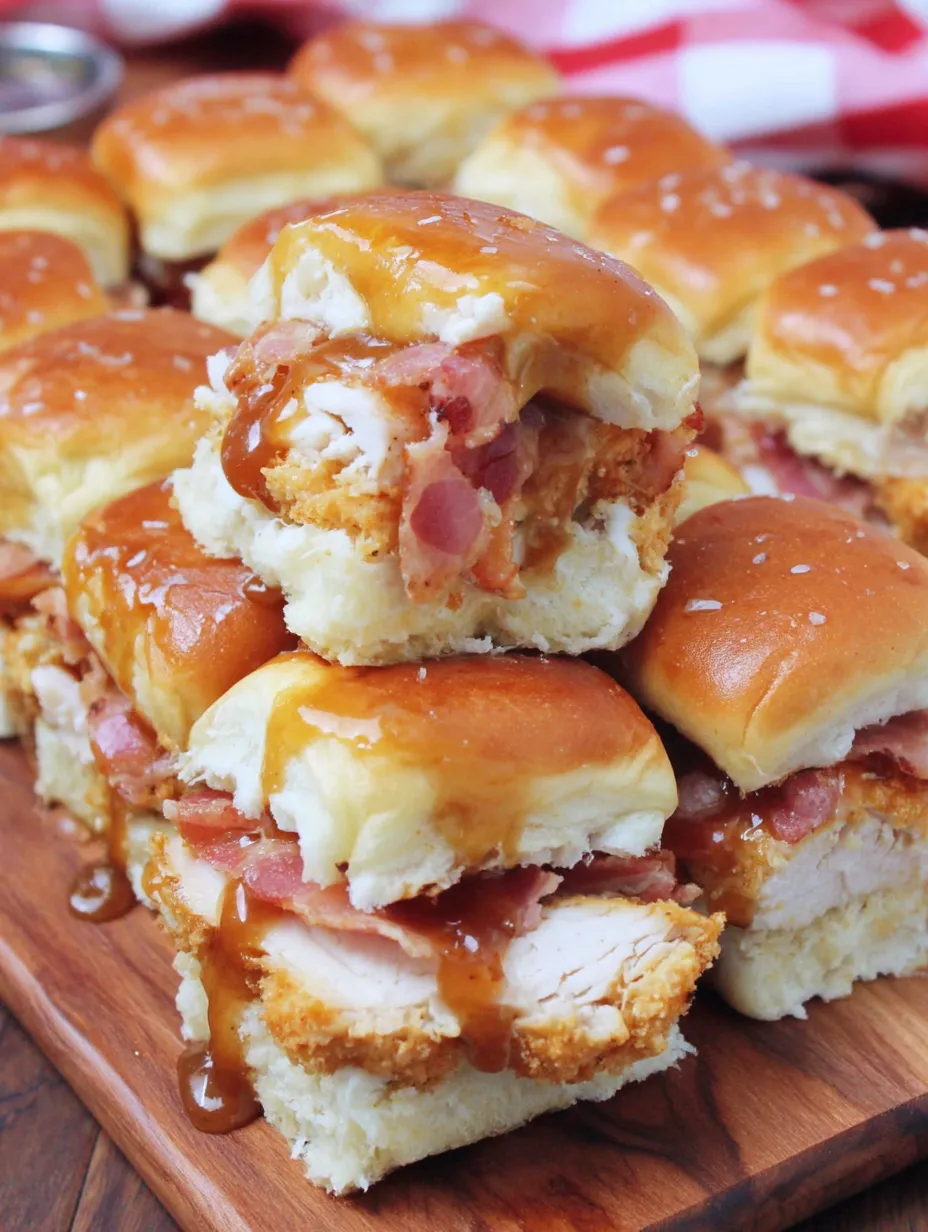
Serve your maple chicken and bacon sliders warm from the oven when the cheese is still melty and the rolls are soft and fragrant. Arrange them on a large platter where everyone can easily grab their own, and maybe put out some napkins because these can get a little messy in the best possible way. They pair beautifully with simple sides like potato chips, coleslaw, or fresh fruit to balance out the richness. Cold beer or iced tea complements the sweet and savory flavors perfectly.
Creative Variations
These maple chicken and bacon sliders are incredibly adaptable to different tastes and whatever you have available. Try using different types of cheese like brie for extra richness or sharp cheddar for more bite. You can substitute ham or turkey for the chicken, or add thin apple slices for extra sweetness and crunch. Sometimes I'll add caramelized onions for depth, or use different flavored butters like honey butter or herb butter. The base concept works with almost any combination of sweet and savory ingredients you can imagine.
Storage Solutions
Maple chicken and bacon sliders are definitely best served fresh and warm, but they can be assembled ahead of time and baked when you're ready to serve. Store assembled but unbaked sliders covered in the refrigerator for up to 24 hours, then bake as directed, adding a few extra minutes if they're cold from the fridge. Leftover baked sliders can be reheated gently in a 300-degree oven for about 5 minutes, though they're never quite as perfect as when they're fresh.
 Pin it
These maple chicken and bacon sliders have earned their place as my most reliable crowd-pleasing recipe because they deliver maximum flavor and satisfaction with minimal effort and ingredients that are always available. They're the kind of recipe that makes you look like a thoughtful, creative cook when really you're just combining simple ingredients in a way that happens to taste incredible. Sometimes the best entertaining food is the kind that surprises people with how good something so simple can actually be.
Frequently Asked Questions
- → Can I make my own maple butter?
- Yes! Just mix softened butter with pure maple syrup to taste. Start with 2-3 tablespoons syrup per stick of butter.
- → What if I can't find Kings Hawaiian rolls?
- Any soft, slightly sweet slider rolls work well. Regular dinner rolls or brioche buns are good alternatives.
- → Can I use different cheese?
- Absolutely! Swiss, cheddar, or brie all work beautifully. Gouda just adds that perfect creamy, nutty flavor.
- → How do I keep them from getting soggy?
- Don't over-butter the rolls, and serve them soon after baking while they're still warm and crispy.
- → Can I prep these ahead of time?
- You can assemble them and refrigerate for a few hours, then bake when ready. They're best served fresh and warm.